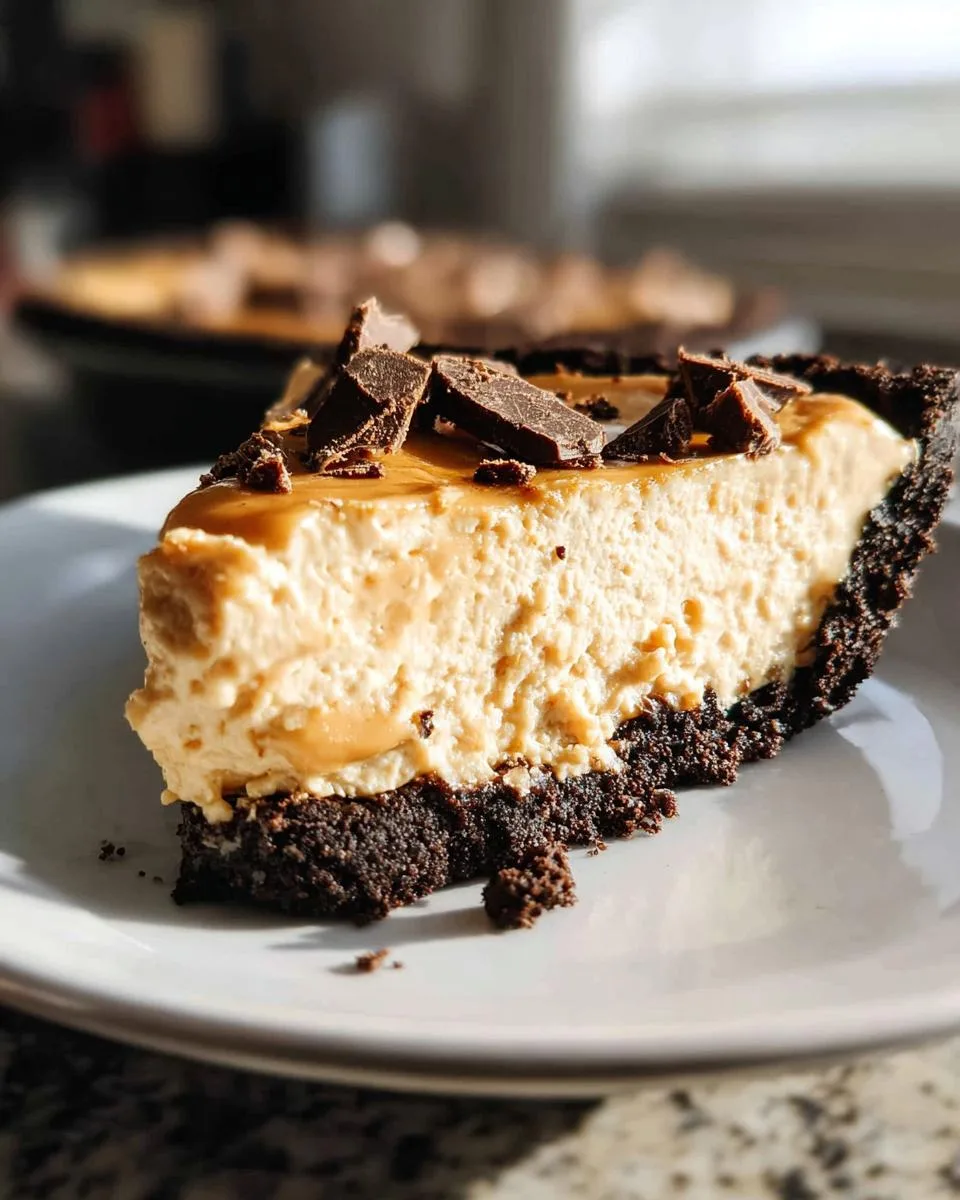
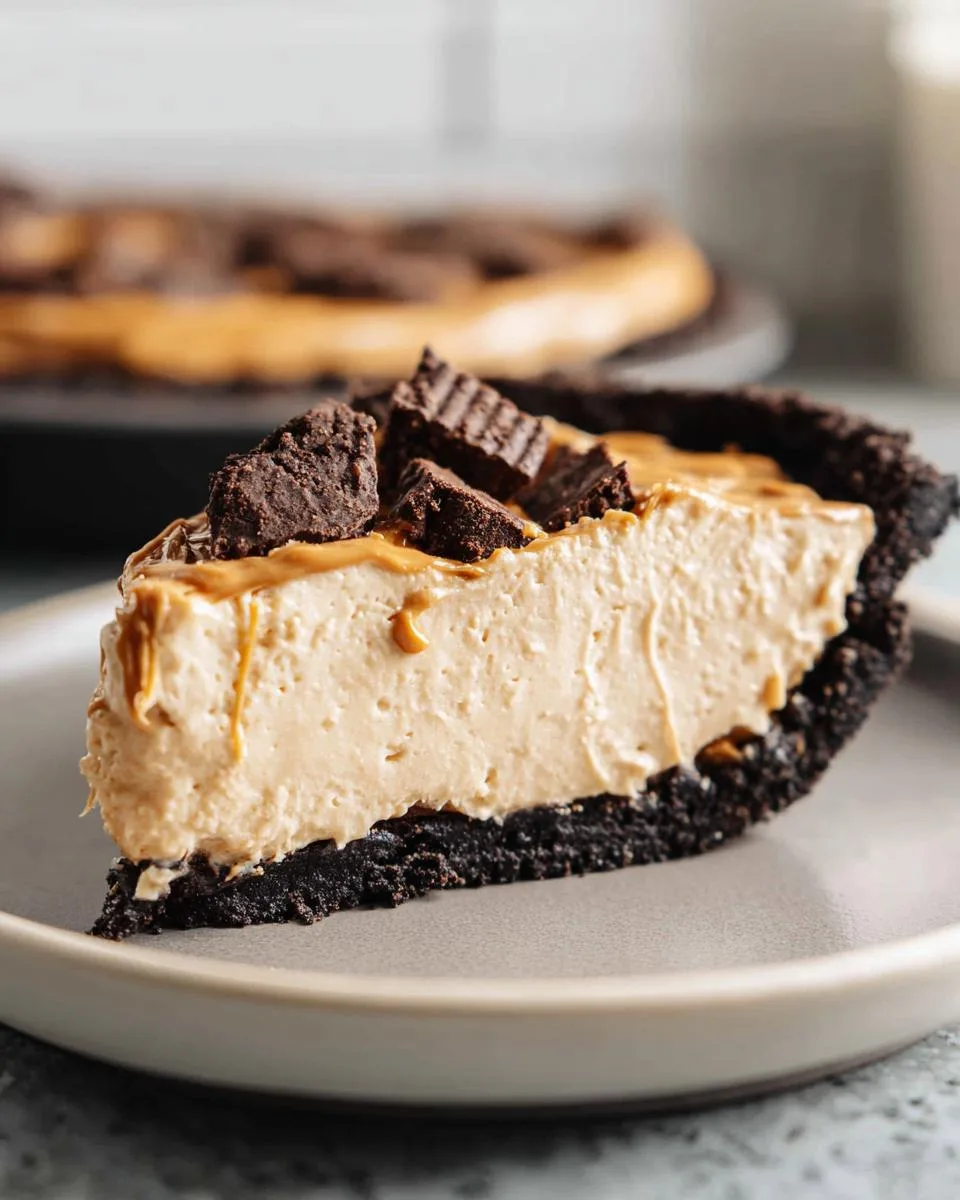
Is there anything more universally loved than a peanut butter dessert? I don’t think so. This No Bake Peanut Butter Pie is my secret weapon for a decadent, restaurant-quality treat that requires exactly zero oven time. It’s a lifesaver on hot summer days and the easiest star of any potluck.
I’ve lost count of how many times this pie has saved my bacon. When my cousin shows up unannounced, or I need a last-minute dessert for the school bake sale, this is what I make. The secret to a great No Bake Peanut Butter Pie isn’t complicated, it’s about that perfect, creamy texture and the salty-sweet crunch of the crust.
First, let’s walk through the recipe. You are just a few simple steps away from pure, peanut buttery bliss.
Table of Contents
Why You’ll Love This No Bake Peanut Butter Pie
Let me tell you why this pie has a permanent spot in my recipe box. It’s not just delicious, it’s genuinely friendly to your busy life. Here’s exactly what makes it a winner.
- No oven required: This is the biggest win. You can make a stunning dessert without turning on the stove. It’s perfect for hot summer days or when your oven is already full during the holidays.
- Incredibly easy: If you can use a mixer and a spoon, you can make this pie. The steps are simple and straightforward, making it a fantastic first dessert for new bakers.
- Perfect flavor balance: The rich, creamy peanut butter filling melts in your mouth. It sits on a crisp, chocolatey cookie crust that gives you that wonderful salty-sweet contrast in every single bite.
- Make-ahead friendly: This pie demands patience. It needs a long chill to set up perfectly, which means you can make it a full day before your event. That’s one less thing to worry about when company comes.
- Always a crowd-pleaser: From my family’s quiet weeknight treat to the centerpiece at a big party, this pie disappears fast. I’ve never brought home a single leftover slice.
It’s the kind of dessert that looks like you fussed for hours, but your secret is safe with me. Let’s gather your ingredients.
Ingredients You’ll Need
Gather these simple ingredients for a pie that tastes anything but simple. Each one plays a key role in creating that dreamy, creamy texture and rich flavor we love.
- For the Chocolate Cookie Crust:
- 30 chocolate sandwich cookies (like Oreos), filling included: You do not need to scrape out the cream. That sweet filling helps bind the crust and adds flavor. Just toss the whole cookies in.
- 6 tablespoons unsalted butter, melted and slightly cooled: Using unsalted butter lets you control the salt level. Let it cool for a minute so it doesn’t make the cookie crumbs greasy.
- For the Peanut Butter Filling:
- 12 ounces (3 standard blocks) full-fat cream cheese, softened: Full-fat is essential for structure and richness. Truly softened cream cheese is non-negotiable for a smooth, lump-free filling. Leave it out for 1-2 hours.
- 1 1/4 cups creamy peanut butter: Use a standard brand like Jif or Skippy, not the natural kind you have to stir. The stable oils in conventional peanut butter keep the filling from getting greasy.
- 1 1/4 cups powdered sugar, sifted if lumpy: Also called confectioners’ sugar. Sifting takes 10 seconds and prevents little sugar lumps in your silky filling.
- 1 teaspoon pure vanilla extract: This deepens all the other flavors. It is the secret background note that makes it taste homemade.
- 1 1/4 cups cold heavy whipping cream: Make sure it’s heavy whipping cream, not half-and-half. The high fat content is what allows it to whip up into stiff, fluffy peaks that hold the pie together.
For a nut-free version, try using sunflower seed butter. The flavor will be different, but it will still be delicious. With these items ready, you are just minutes away from pie heaven.
How to Make No Bake Peanut Butter Pie
Now for the fun part. Making this pie is a simple process, but a few key techniques make all the difference. Follow these steps, and you will have a perfect, creamy pie every single time.
Step 1: Make and Chill the Crust
Place your chocolate sandwich cookies in a food processor. Pulse them until you have fine, even crumbs. You should have about 2 ½ cups of crumbs. Pour in the melted, cooled butter and pulse a few more times until the mixture looks like dark, wet sand. Transfer it to a 9-inch deep dish pie plate. Use the bottom of a measuring cup to press the crumbs firmly and evenly across the bottom and all the way up the sides. A firm press now means a crust that holds together later. Pop it in the refrigerator for at least 30 minutes to set. For a super firm base, you can freeze it for 15 minutes instead.
Step 2: Create the Peanut Butter Filling Base
In a large mixing bowl, combine your very soft cream cheese and the creamy peanut butter. Use an electric mixer on medium speed to beat them together. Keep going for a good minute or two, stopping to scrape down the sides of the bowl. You want this mixture to be completely smooth, with no lumps of cream cheese in sight. This smooth base is the foundation for your entire filling.
Step 3: Sweeten the Filling
With the mixer on low speed, gradually add the powdered sugar and the vanilla extract. Starting on low prevents a huge cloud of sugar from puffing up all over your kitchen. Once the sugar is mostly incorporated, increase the speed to medium and beat for another 30 seconds. The mixture will be very thick and creamy. Scrape the bowl one more time to make sure everything is mixed in.
Step 4: Whip the Cream to Stiff Peaks
This step is important. Pour the cold heavy whipping cream into a separate, clean, cold bowl. Using clean beaters, start on medium-high speed. Beat the cream until it forms stiff peaks. This means when you lift the beaters straight up, the peak of cream stands up firmly and doesn’t flop over. Do not walk away. Overbeating will turn your lovely cream into grainy, separated butter. If that happens, you must start over with new cream.
Step 5: Fold Everything Together
Here is where we keep the filling light and airy. Add about one-third of the whipped cream to the peanut butter bowl. Use a rubber spatula to gently fold it in. This just means you cut through the center, scoop along the bottom, and fold it over the top. Rotate the bowl as you go. Once that first bit is incorporated, add the rest of the whipped cream. Continue folding gently until you see no more streaks of white. The filling will be beautifully light and fluffy.
Step 6: Assemble and Let the Pie Set
Take your chilled crust from the fridge. Pour all of that dreamy peanut butter filling into the crust. Smooth the top with your spatula. Loosely cover the pie with plastic wrap. Try to tent it so the wrap does not touch the surface of the filling. This is the hard part. Place the pie in the refrigerator and let it chill and set for at least 4 hours. For the cleanest, most perfect slices, I always let mine set overnight. The wait is absolutely worth it.
Pro Tips for the Best No Bake Peanut Butter Pie
These little kitchen tricks are what elevate a good pie to a great one. They are the secrets I have learned from making this recipe dozens of times in my own kitchen.
- Soften that cream cheese completely: Leave the blocks on your counter for a full 1-2 hours. They should feel as soft as room temperature butter. This is the single best way to guarantee a silky, lump-free filling.
- Always use a deep dish pie plate: This recipe makes a generous, cloud-like filling. A standard shallow pie plate will overflow. A deep dish gives you tall, beautiful slices.
- Chill your tools for the cream: Before whipping, pop your metal mixing bowl and beaters in the freezer for 10 minutes. Cold tools help the heavy cream whip up faster and hold those stiff peaks perfectly.
- Fold with a gentle hand: Once you add the whipped cream, switch to a spatula. Gently fold until just combined. Overmixing will deflate all the air you just whipped in, making the filling dense instead of light.
- Charlotte’s slicing secret: For picture-perfect slices, run your knife under very hot water. Wipe it completely dry with a towel, then make your cut. The warm blade glides right through the cold filling. Repeat for every slice.
Follow these tips, and your pie will be stunning. Now, let’s talk about a few easy pitfalls to steer clear of.
Common Mistakes to Avoid
We have all been there. A simple slip can change your dessert’s texture. Knowing these common hiccups ahead of time will set you up for a flawless No Bake Peanut Butter Pie every single time.
- Using cold cream cheese: This is the number one reason for a lumpy filling. Cold cream cheese will not blend smoothly. It leaves little white bits throughout your peanut butter mix. The fix is easy. Plan ahead and let your blocks soften on the counter for 1 to 2 hours until they are spreadable.
- Overbeating or underbeating the whipped cream: Getting the cream just right is key. Underbeaten, soft cream will not give the pie structure, so it will slump. Overbeaten cream looks grainy and turns into butter, making the whole filling greasy. Stop mixing the second you see stiff peaks that hold their shape.
- Skipping the crust chill time: If you pour the filling into a warm crust, the butter will still be soft. The crust will crumble and mix with your beautiful filling. Always chill the pressed crust for at least 30 minutes so it firms up into a solid base.
- Not chilling the pie long enough: Impatience is the enemy here. The pie needs that full 4 hours, or better yet overnight, for the filling to set completely. If you slice it too early, it will be a soft, runny mess. Trust the process. Let the fridge do its work.
Do not panic if you make a mistake. Most are fixable. For lumpy filling, just beat it a bit longer. If the crust crumbles, press it back in. Now, let us talk about fun ways to make this pie your own.
Delicious Variations
The best part about this No Bake Peanut Butter Pie is how easily you can dress it up. Once you master the basic recipe, try one of these fun twists to make it new again. Each one adds a little extra joy.
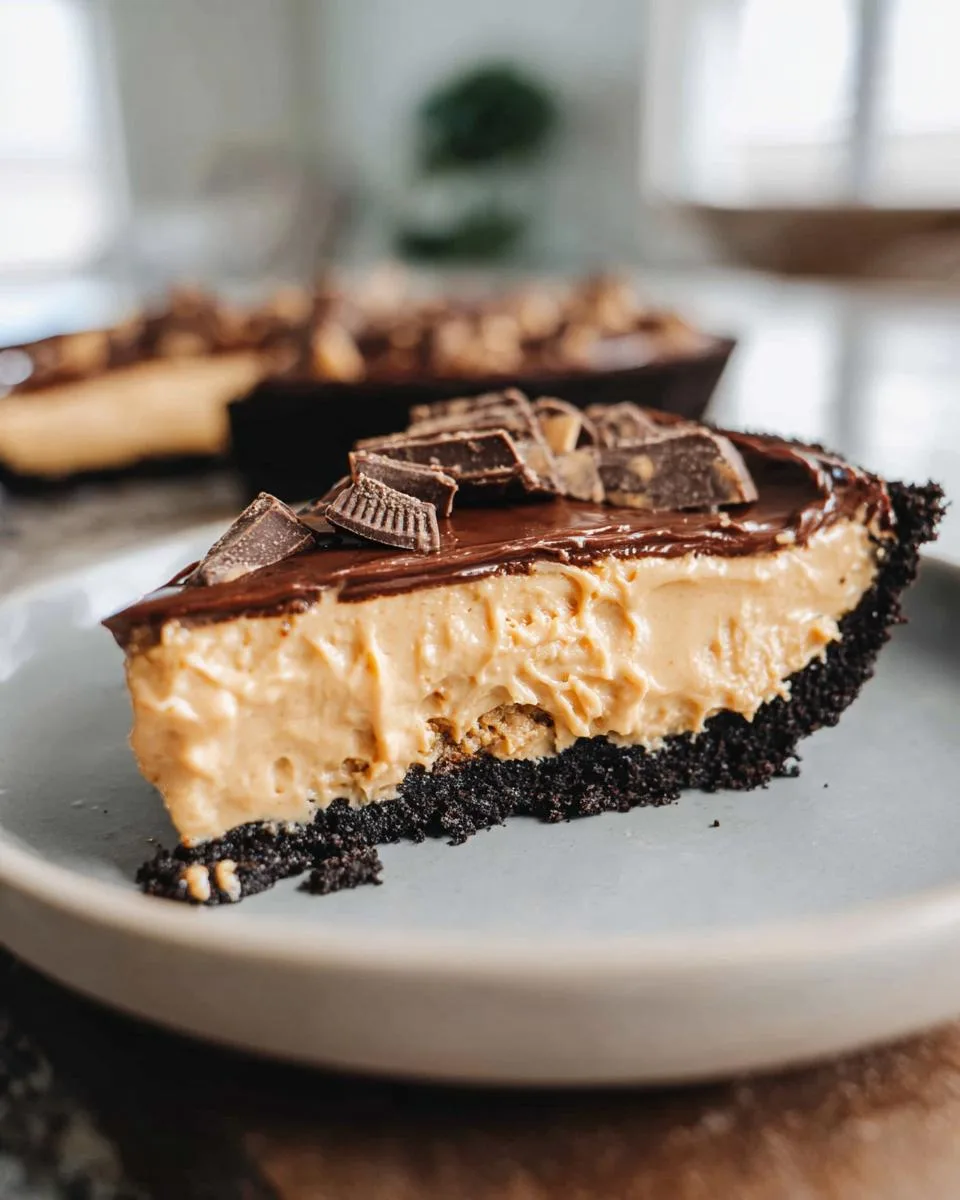
- Chocolate Swirl: Melt ½ cup of chocolate chips with a teaspoon of butter. Let it cool slightly. After you pour the filling into the crust, dollop the melted chocolate on top. Use a knife to gently swirl it through the peanut butter filling for a beautiful marbled effect.
- Cookie Dough Vibe: Fold ½ cup of mini chocolate chips directly into the peanut butter filling at the very end, right before you pour it into the crust. They will give you little bursts of chocolate in every bite, just like eating cookie dough.
- Reese’s Pieces: Chop up about 1 cup of Reese’s peanut butter cups. Gently fold most of them into the finished filling, then sprinkle the rest on top of the pie before you chill it. You get double the peanut butter chocolate goodness.
- Different Crust: Not a chocolate cookie fan? Use 2 ½ cups of graham cracker crumbs mixed with the same 6 tablespoons of melted butter for a classic, sweet crust. For a vanilla twist, try the same amount of crushed Nilla wafers.
Each variation is a simple way to customize this pie for any holiday or just your own personal craving. Now, let us talk about the best ways to serve it.
Serving Suggestions
This No Bake Peanut Butter Pie is a star all on its own, but a few simple touches can make it feel extra special. Here are my favorite ways to serve it, from a quiet Tuesday to a big family gathering.
- Keep it pure and simple: A chilled slice straight from the fridge is absolute perfection. The creamy filling and crisp crust need no adornment. This is my go-to for a quick weeknight treat.
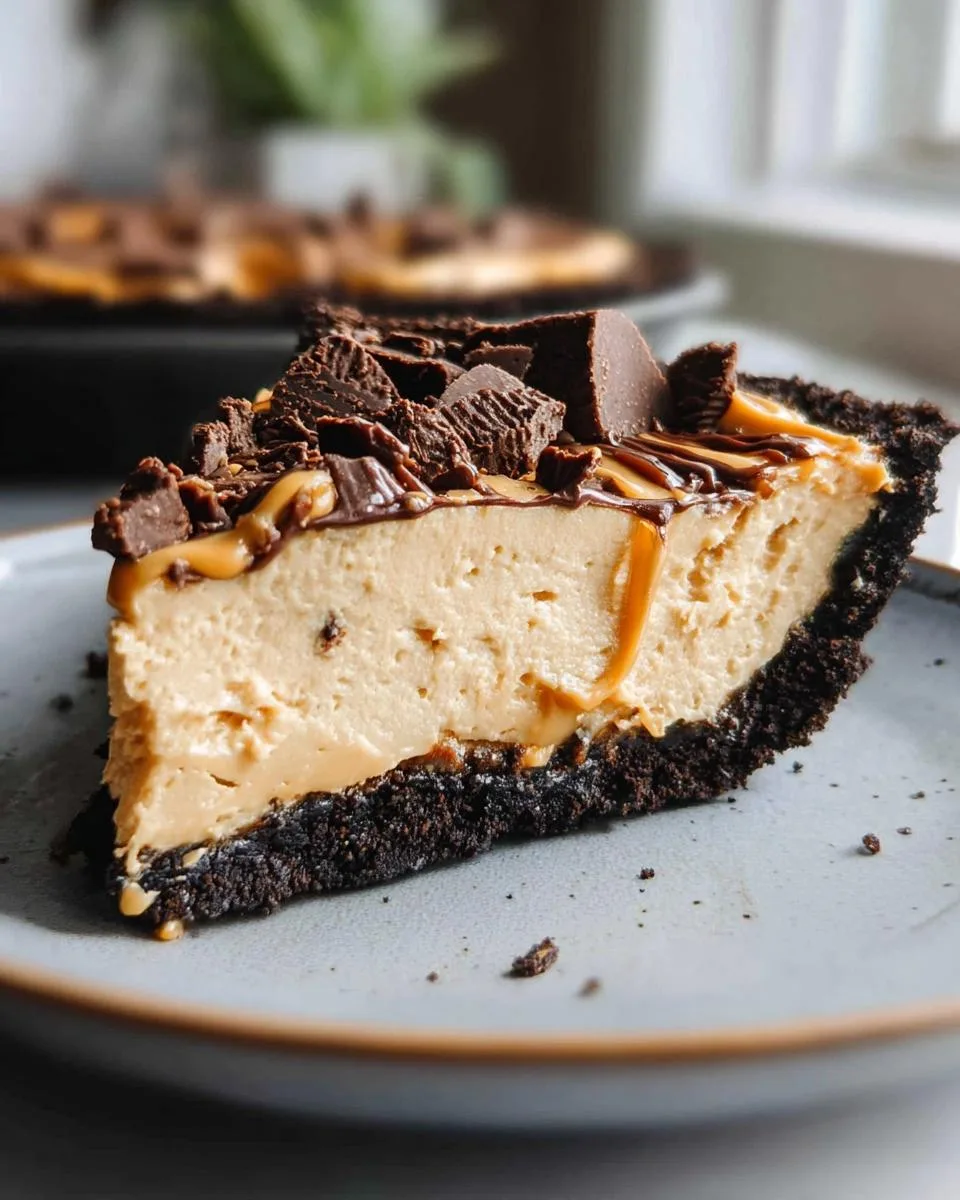
- Create a dessert masterpiece: Right before serving, add a dollop of fresh whipped cream. Drizzle with warm chocolate sauce or salted caramel. A tiny sprinkle of flaky sea salt on top cuts the sweetness and makes every flavor pop.
- Add a fun crunch: Sprinkle the top of the whole pie or individual slices with chopped salted peanuts or crushed Reese’s Pieces. The extra peanut flavor and crunchy texture are a fantastic contrast to the smooth filling.
- Pair with the perfect drink: This rich pie loves a cool drink alongside it. A glass of cold milk is a classic choice. For the adults, a cup of strong, iced coffee balances the sweetness beautifully.
- Bring it to the party: This pie is a standalone superstar. It travels well in its dish, making it the ideal dessert for cookouts, potlucks, or holiday dinners. Just remember to keep it chilled until you are ready to serve.
No matter how you dress it up, this pie is always the hit of the table. Now, let’s answer a few common questions.
FAQs About No Bake Peanut Butter Pie
Can I make this pie ahead of time?
Absolutely. This pie is a dream for making ahead. You can prepare it, cover it, and refrigerate it for up to 2 full days before you plan to serve it. The flavor only gets better as it chills.
How do I store leftovers?
Keep any leftover pie tightly covered with plastic wrap or in an airtight container in the refrigerator. For the best taste and texture, enjoy your leftovers within 3 to 4 days.
Can I freeze no bake peanut butter pie?
Yes, you can freeze it for up to 1 month. Wrap the whole pie or individual slices tightly in plastic wrap, then in foil. Thaw it overnight in the refrigerator before serving.
Can I use natural peanut butter?
I do not recommend it. The oils in natural, stirred peanut butter can separate and make the filling greasy and unstable. For the creamiest, smoothest results, use a standard creamy peanut butter like Jif or Skippy.
What is the estimated calorie count per serving?
Based on our specific ingredients, one slice is about 532 calories. Please note that nutritional values can vary slightly depending on the exact brands you use in your kitchen.

Your New Favorite No Bake Peanut Butter Pie
And there you have it. Your new go-to dessert that is effortlessly creamy, requires no oven, and is guaranteed to make people smile. This No Bake Peanut Butter Pie proves that the best treats are often the simplest. I would love to hear how your pie turns out. Tell me in the comments below.
Did you add a chocolate swirl? Was it a hit at your gathering? For more easy, family-friendly dessert ideas just like this, come follow along with me on Pinterest. Happy no-baking.
Print
No Bake Peanut Butter Pie
- Total Time: 4 hours 20 minutes
- Yield: 12 servings 1x
- Diet: Vegetarian
Description
Indulge in this incredibly easy no bake peanut butter pie, featuring a rich, creamy peanut butter filling nestled in a crisp chocolate cookie crust. It’s the perfect make ahead dessert for any occasion.
Ingredients
- 30 chocolate sandwich cookies (like Oreos)
- 6 tablespoons unsalted butter, melted
- 12 ounces cream cheese, softened
- 1 1/4 cups creamy peanut butter
- 1 1/4 cups powdered sugar
- 1 teaspoon vanilla extract
- 1 1/4 cups heavy whipping cream
Instructions
- Prepare the crust: Place the chocolate sandwich cookies into a food processor and pulse until they form fine crumbs. Add the melted butter to the cookie crumbs and mix until well combined. Press this mixture firmly into the bottom and up the sides of a 9.5 inch pie plate. Refrigerate the crust for at least 30 minutes while you prepare the filling.
- Make the peanut butter filling: In a large mixing bowl, beat the softened cream cheese and creamy peanut butter together with an electric mixer until the mixture is completely smooth and no lumps remain. Gradually add the powdered sugar and vanilla extract, mixing until everything is well incorporated and smooth.
- Whip the cream: In a separate, clean mixing bowl, beat the heavy whipping cream with an electric mixer on medium-high speed until stiff peaks form. Be careful not to overbeat the cream.
- Combine the filling: Gently fold the whipped cream into the peanut butter and cream cheese mixture. Continue folding until just combined and no streaks of whipped cream are visible. This step helps to create a lighter, airier texture for the pie.
- Assemble and chill: Pour the peanut butter filling evenly into the chilled cookie crust. Cover the pie loosely with plastic wrap, making sure it doesn’t touch the surface of the filling. Refrigerate for at least 4 hours, or preferably overnight, to allow the pie to set completely.
- Serve: Slice the chilled pie and serve as is.
Notes
- For the smoothest filling, ensure your cream cheese is truly softened to room temperature.
- Using a deep dish pie plate will help contain all of the delicious filling.
- If you prefer a firmer crust, you can freeze it for 20 to 30 minutes instead of refrigerating.
- Serve chilled. For an extra touch, top each slice with a dollop of extra whipped cream, a drizzle of melted chocolate, or a sprinkle of chopped peanuts.
- Prep Time: 20 minutes
- Cook Time: 0 minutes
- Category: Dessert
- Method: No Bake
- Cuisine: American
Nutrition
- Serving Size: 1 slice
- Calories: 532 kcal
- Sugar: 30g
- Sodium: 320mg
- Fat: 38g
- Saturated Fat: 18g
- Unsaturated Fat: 15g
- Trans Fat: 0g
- Carbohydrates: 42g
- Fiber: 2g
- Protein: 9g
- Cholesterol: 75mg
Keywords: no bake peanut butter pie, easy dessert, make ahead dessert, chocolate cookie crust, creamy pie