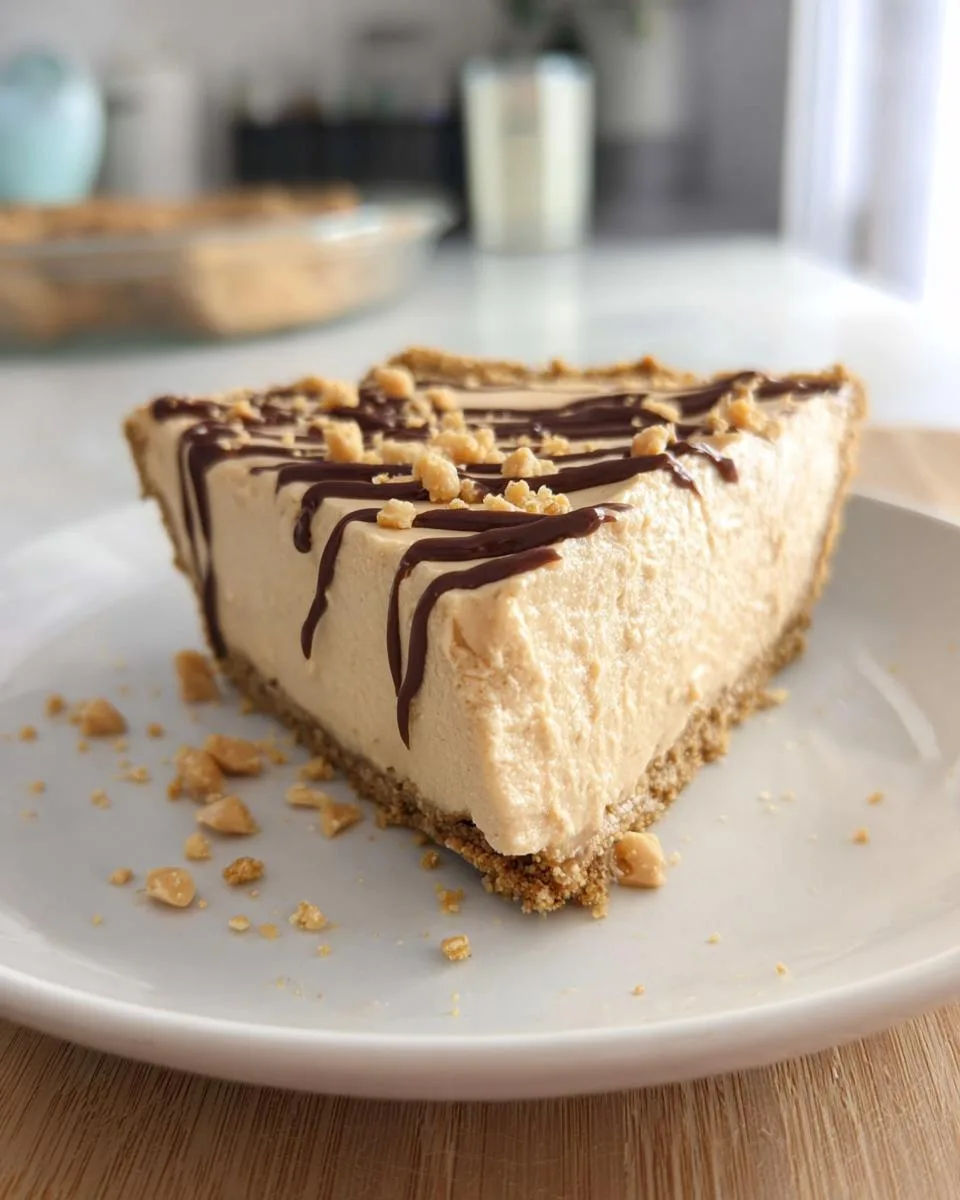
You need a dessert that feels like a hug, but your oven is off limits. This no-bake peanut butter pie is your answer. It is the ultimate creamy, dreamy dessert with zero baking required.
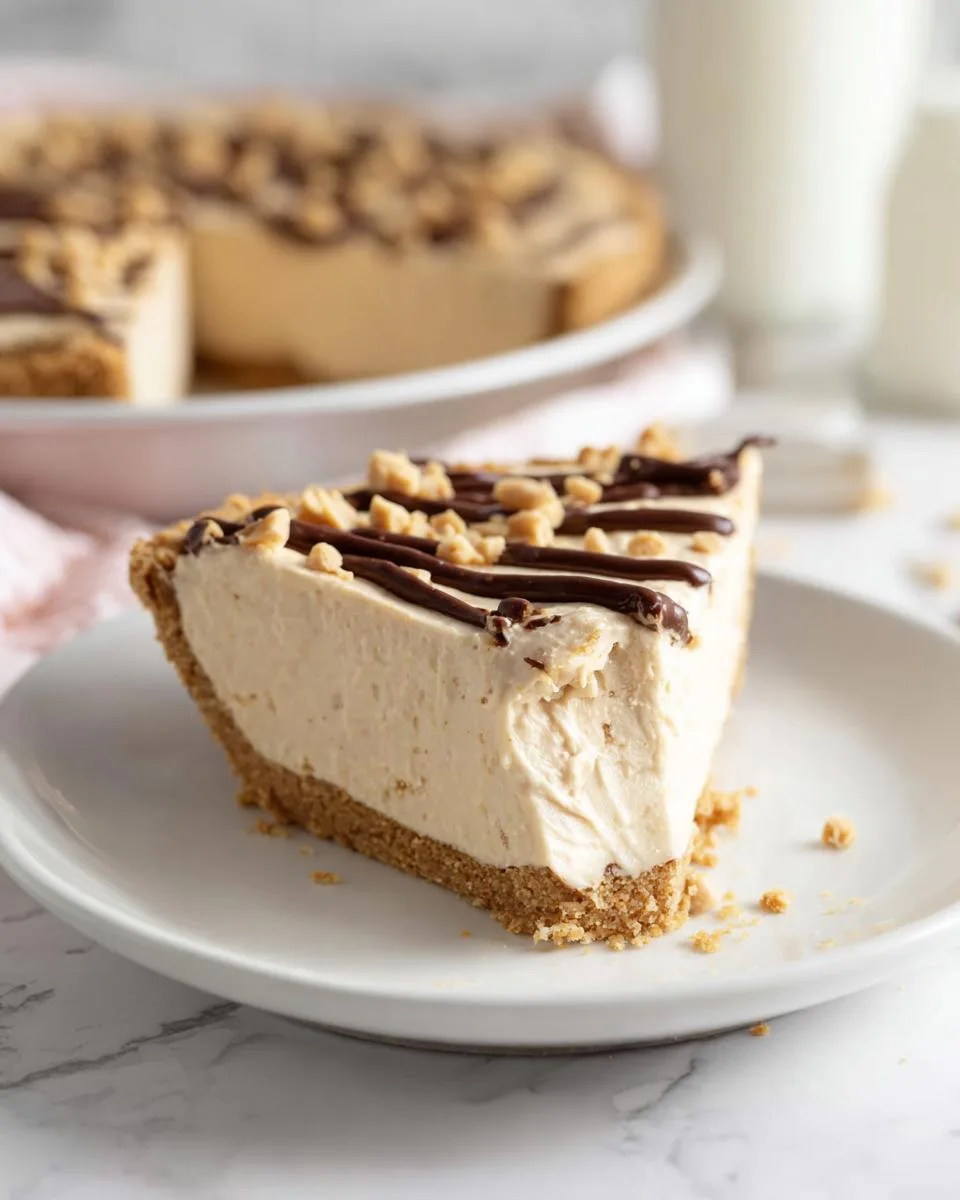
This no-bake peanut butter pie recipe is pure magic. A silky filling of peanut butter and cream cheese sits in a crisp crust, setting up perfectly in the fridge. It is the hero of summer potlucks and the savior of last-minute dinners. My Mama’s version was always the first dish to disappear at family reunions.
The secret to a great no-bake peanut butter pie is not complicated. It is about letting simple ingredients shine. First, let’s walk through what makes this recipe so special.
Table of Contents
Why You’ll Love This No-Bake Peanut Butter Pie
Let me tell you exactly why this pie has a permanent spot in my recipe box. It solves so many problems with one creamy, dreamy slice.
- No oven required: This is the ultimate easy peanut butter pie. You make the whole thing on the countertop, which is a lifesaver on hot days or when you just cannot turn on the oven.
- Unbelievably creamy texture: Beating the cream cheese and peanut butter until perfectly smooth creates a filling that is luxuriously silky. It melts in your mouth.
- Perfect for make-ahead plans: This is the best make-ahead dessert. It needs time to chill, so making it the day before actually improves the flavor and gives you one less thing to worry about.
- Endlessly adaptable: Start with this classic version, then get creative. I will share my favorite twists later, from different crusts to fun stir-ins.
- The ultimate crowd-pleaser: I have never brought this to a potluck or family dinner without someone asking for the recipe. It is a guaranteed hit for both kids and adults.
In short, it is simple, spectacular, and always a hit. Now, let us gather our few ingredients.
Ingredients You’ll Need
Gathering your ingredients is the first simple step. Each one plays a key role in creating that perfect, creamy slice of no-bake peanut butter pie.
- 1 (9-inch) pre-made graham cracker crust: This is a fantastic shortcut. A homemade crust is a simple upgrade if you have extra graham crackers, but the store-bought version works wonderfully.
- 1 ½ cups creamy peanut butter: Use a standard brand like Jif or Skippy. The oil in natural peanut butter can separate and make your filling too soft and oily, which affects how well it sets.
- 8 ounces cream cheese, softened: This is the most important tip. Let the cream cheese sit on your counter for 1-2 hours until it’s soft to the touch. Room-temperature cream cheese blends into a perfectly smooth, lump-free filling.
- 1 cup powdered sugar: This sweetens the filling without any graininess. If your sugar has big clumps, give it a quick sift for the smoothest results.
- 1 teaspoon vanilla extract: Pure vanilla extract adds a warm, round flavor that makes the peanut butter taste even better.
- 1 (8 ounce) container frozen whipped topping, thawed: Thaw this in the refrigerator overnight. For a from-scratch option, you can substitute with 2 cups of heavy cream whipped with 2 tablespoons of powdered sugar until stiff peaks form.
- ½ cup semi-sweet chocolate chips (optional): These are for a classic chocolate drizzle on top.
- 1 tablespoon smooth peanut butter (optional): Stirred into the melted chocolate, this creates a delicious peanut butter-chocolate swirl.
One easy substitution: for a nut-free version, you can use sunflower seed butter. It has a similar rich, creamy texture. With these simple items, you are minutes away from a decadent dessert.
How to Make No-Bake Peanut Butter Pie
Making this pie is a joyful, straightforward process. Follow these simple steps for a perfect, creamy result every single time.
Step 1: Prepare Your Workspace
Set your pre-made graham cracker crust on the counter. Take your cream cheese out of its foil. Press your thumb into it. It should leave a deep, soft indent with no resistance. If it is still firm, let it sit longer. This one tip prevents a lumpy filling and makes mixing a breeze.
Step 2: Create the Creamy Base
Grab a large mixing bowl. Add the softened cream cheese and all of the creamy peanut butter. Use an electric mixer on medium speed. Beat them together for a full 2 to 3 minutes. Stop halfway to scrape down the sides and bottom of the bowl with a spatula. You are done when the mixture is one uniform, smooth, and creamy color with absolutely no lumps.
Step 3: Sweeten and Flavor
Reduce your mixer speed to low. Add the powdered sugar and vanilla extract. Mix on low for about 30 seconds. This prevents a big cloud of sugar dust. Then, increase the speed back to medium. Beat for another 1 to 2 minutes. The filling will become noticeably lighter, fluffier, and pale in color.
Step 4: Incorporate the Whipped Topping
Now, put the mixer away. Add all of the thawed whipped topping to the bowl. Take your spatula and use a gentle folding motion. Cut down through the center, lift, and turn the mixture over. Repeat just until the white streaks disappear and the filling is one consistent, creamy beige. Overmixing here will deflate your pie and make it dense.
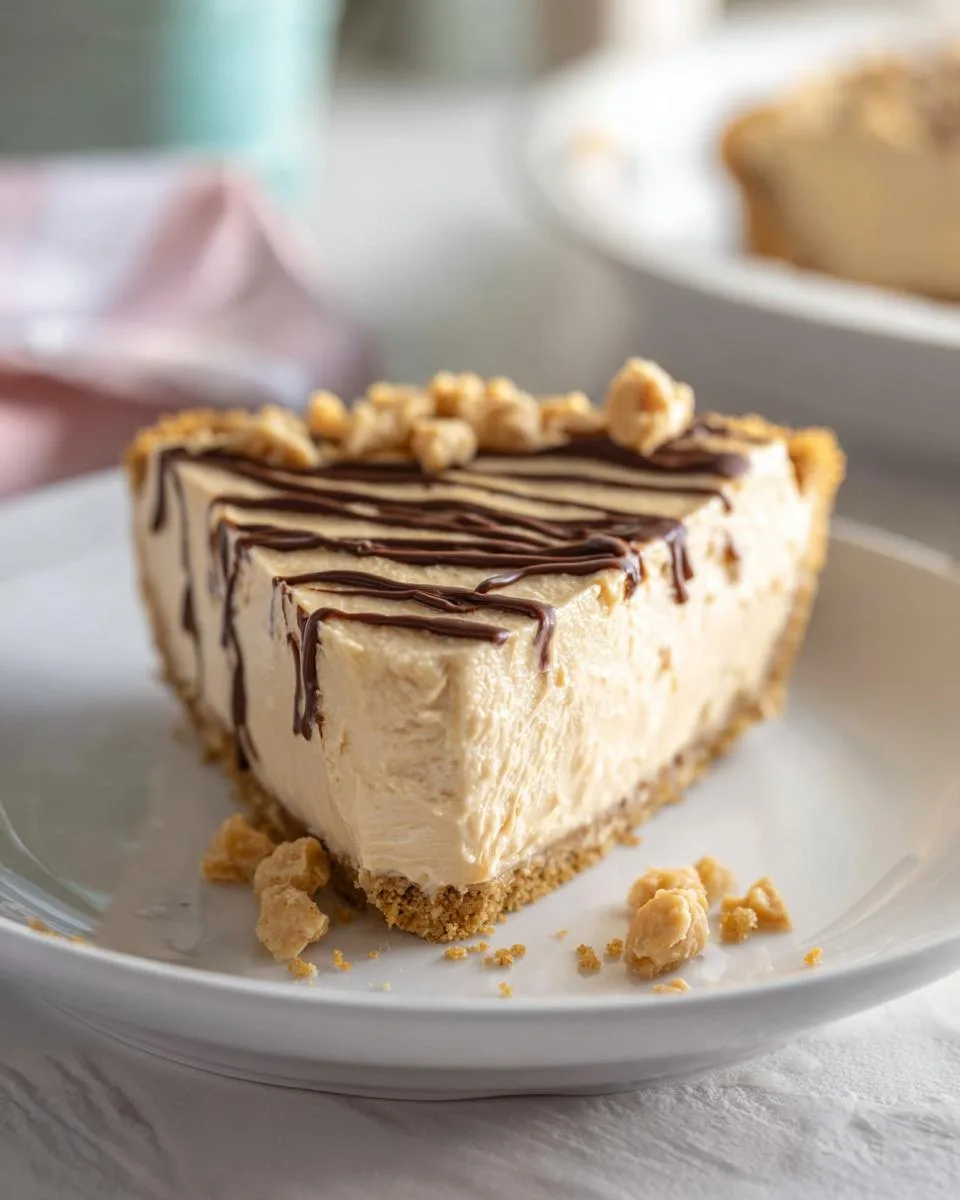
Step 5: Assemble and Top
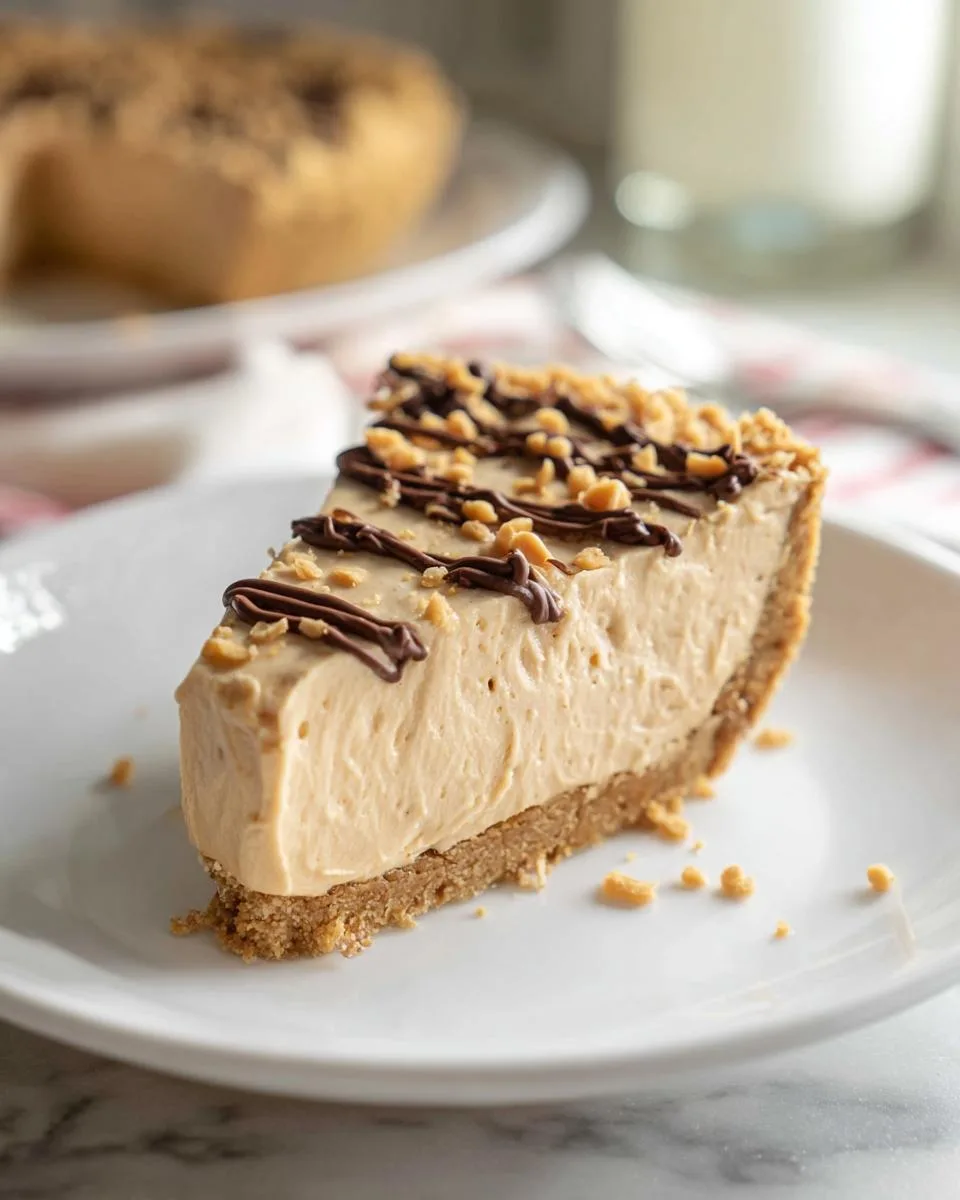
Scoop all of the peanut butter filling into your waiting crust. Use the spatula to spread it evenly and smooth the top. For the optional drizzle, place the chocolate chips and the extra tablespoon of peanut butter in a small microwave-safe bowl. Heat for 30 seconds, stir well, then heat in 15-second bursts until completely melted and smooth. Drizzle it back and forth over the pie with a spoon.
Step 6: Chill to Set
This is the non-negotiable step. Loosely cover the pie with plastic wrap. Place it in the refrigerator for at least 4 hours. For the best flavor and texture that slices cleanly, I always let mine set overnight. The filling firms up beautifully, transforming into the perfect sliceable pie.
Pro Tips for the Best No-Bake Peanut Butter Pie
A few simple tricks will take your pie from good to absolutely unforgettable. These are the little things I have learned after making this recipe countless times.
- Use an electric mixer for a flawless filling. Hand mixing with a spoon often leaves tiny, stubborn lumps of cream cheese. An electric mixer ensures everything blends into that perfectly silky, creamy peanut butter pie texture we all love.
- Stick with conventional creamy peanut butter. Avoid natural brands where the oil separates and floats on top. That extra oil can throw off the fat balance, resulting in a filling that is too soft and may not set firmly in the fridge.
- Revive your whipped topping if needed. If your thawed whipped topping looks a little loose or melted, do not worry. Just give it a quick whisk by hand for a minute. This brings back its fluffy body, which helps create a light and airy pie filling when you fold it in.
- Get picture-perfect slices every time. For clean cuts that do not smoosh the pie, dip a sharp knife into a glass of hot water. Wipe it dry with a towel, then slice. Repeat this between each cut for beautifully defined pieces.
My personal secret? I always make it the night before. That long, slow chill in the fridge makes the flavors richer and the texture absolutely perfect for slicing.
Common Mistakes to Avoid
Even the easiest recipes have little pitfalls. Knowing what to watch for will guarantee your no-bake peanut butter pie turns out perfectly creamy and sliceable every single time.
- Using cold cream cheese. This is the number one reason for a lumpy filling. Cold cream cheese will not blend smoothly. The fix is simple. Plan ahead and let the block sit on your kitchen counter for a good 1 to 2 hours before you start.
- Overmixing after adding whipped topping. Vigorous stirring deflates all the air you just whipped in. This makes the filling dense instead of light. The moment you add the whipped topping, switch to a spatula. Fold gently until you see no more white streaks, then stop.
- Not chilling long enough. Impatience leads to a soupy slice. The pie needs that full 4 hours, or better yet overnight, to firm up properly. If you are in a rush, pop the pie into the freezer for 1 to 2 hours to speed up the setting process.
- Using a runny natural peanut butter. The natural oils can make the filling too soft, so it might not hold its shape. For the best structure, use a standard creamy peanut butter from the jar. Don’t panic if you only have natural. You can stir it very well and use it, just know the texture will be a bit softer.
Delicious Variations
This no-bake peanut butter pie is a wonderful classic, but it also loves a playful twist. Here are a few of my favorite ways to change it up and make it your own.
- Chocolate Cookie Crust: Swap the graham cracker crust for a store-bought chocolate cookie crust. For a homemade version, mix 1 ½ cups of crushed Oreo cookies (filling included) with 5 tablespoons of melted butter. Press into your pie plate and chill for 30 minutes before filling.
- Nutella Swirl: After spreading the filling into the crust, drop ½ cup of Nutella by the spoonful on top. Use a knife or toothpick to gently swirl it through the peanut butter layer for a beautiful marbled effect.
- Peanut Butter Cup: Gently fold 1 cup of chopped mini peanut butter cups into the filling right before you pour it into the crust. This adds fantastic little pockets of chocolate and a fun, chunky texture.
- Salty Sweet: Right after you add the optional chocolate drizzle, sprinkle the top of your pie with a pinch of flaky sea salt. This simple touch makes the peanut butter flavor pop even more.
- Lighter Version: You can use reduced-fat (Neufchâtel) cream cheese and a light or sugar-free whipped topping. The texture will be slightly softer, but the flavor is still wonderfully rich and satisfying.
Do not be afraid to mix and match. A chocolate crust with a salty-sweet topping is a dream come true.
Serving Suggestions
This no-bake peanut butter pie is a superstar all on its own, but a few simple pairings can make it shine for any occasion. Here is how I love to serve it.
- For a special weeknight treat: After a simple dinner, serve a modest slice. Its rich creaminess feels like a celebration, turning an ordinary Tuesday into something sweet and memorable.
- As an elegant dinner party dessert: Dress it up! Top each slice with a fresh dollop of whipped cream and a sprinkle of chocolate shavings. It looks beautiful on a fancy plate and always impresses guests.
- The perfect afternoon companion: Pair a small sliver with a strong cup of black coffee. The bitterness of the coffee balances the sweet, creamy pie perfectly for a delightful pick-me-up.
- Your go-to potluck hero: This pie travels like a dream. Keep it chilled in a cooler or an insulated bag. It is always the first dessert to disappear at summer picnics and family gatherings.
- With a fruity or icy side: The pie is rich enough to stand alone, but it also loves company. Serve it alongside a handful of fresh raspberries or a single scoop of vanilla ice cream for a perfect contrast.
No matter how you serve it, make sure it is thoroughly chilled for the best, firmest slice. Enjoy every creamy bite.
FAQs About No-Bake Peanut Butter Pie
Can I freeze this peanut butter pie?
Yes, you can freeze it beautifully. Wrap the whole pie tightly in plastic wrap, then a layer of foil. It will keep in the freezer for up to 2 months. Thaw it overnight in your refrigerator before you plan to serve it.
How long does it last in the fridge?
Stored with a cover or plastic wrap right on the surface, your pie will stay fresh and delicious for 3 to 4 days. The crust may soften slightly by day four, but the flavor will still be fantastic.
Can I use crunchy peanut butter?
You absolutely can. Just know that the tiny peanut pieces will be throughout the filling, so it will not have that perfectly smooth, creamy texture. It is a great way to add a little crunch if you like it.
My filling seems soft after chilling. What happened?
This usually means it needed more time to set, or the cream cheese was not fully softened. Next time, ensure your cream cheese is room-temperature and chill the pie overnight. For now, pop it in the freezer for an hour to firm it up before slicing.
What are the nutrition facts for a slice?
An estimated slice has about 550-600 calories. Please remember, this is just an estimate. Nutritional information always varies based on the specific brands and ingredients you choose to use.
Your No-Bake Peanut Butter Pie Awaits
And there you have it. Your path to the creamiest, dreamiest no-bake peanut butter pie is clear. This recipe gives you the ultimate trifecta: stunning simplicity, a luxuriously smooth texture, and the gift of make-ahead convenience. It is the dessert that always feels like a special occasion, without any of the usual fuss. I truly hope this pie brings as much joy to your table as it has to mine.
Now, I would love to hear from you. Did your family go crazy for it? Did you try a fun variation? Leave a comment below and tell me all about it. For more easy, family-friendly dessert ideas that deliver big flavor, come follow along with me on Pinterest. Happy no-baking.
Print
No Bake Peanut Butter Pie
- Total Time: 4 hours 20 minutes
- Yield: 8 servings 1x
- Diet: Vegetarian
Description
A smooth, creamy no-bake peanut butter pie with a graham cracker crust, perfect for easy desserts.
Ingredients
- 1 (9 inch) pre-made graham cracker pie crust
- 1 ½ cups creamy peanut butter
- 8 ounces cream cheese, softened
- 1 cup powdered sugar
- 1 teaspoon vanilla extract
- 1 (8 ounce) container frozen whipped topping, thawed (or 2 cups homemade whipped cream)
- ½ cup semi-sweet chocolate chips, for topping (optional)
- 1 tablespoon smooth peanut butter, for drizzling (optional)
Instructions
- Set aside your graham cracker crust.
- Beat softened cream cheese and peanut butter until smooth.
- Add powdered sugar and vanilla extract. Beat until light and fluffy.
- Fold in thawed whipped topping gently.
- Spoon filling into crust and smooth the top.
- Melt chocolate chips and mix with 1 tablespoon peanut butter for drizzling.
- Drizzle chocolate mixture over the pie.
- Refrigerate for at least 4 hours or overnight to set.
Notes
- Use softened cream cheese for a smooth filling.
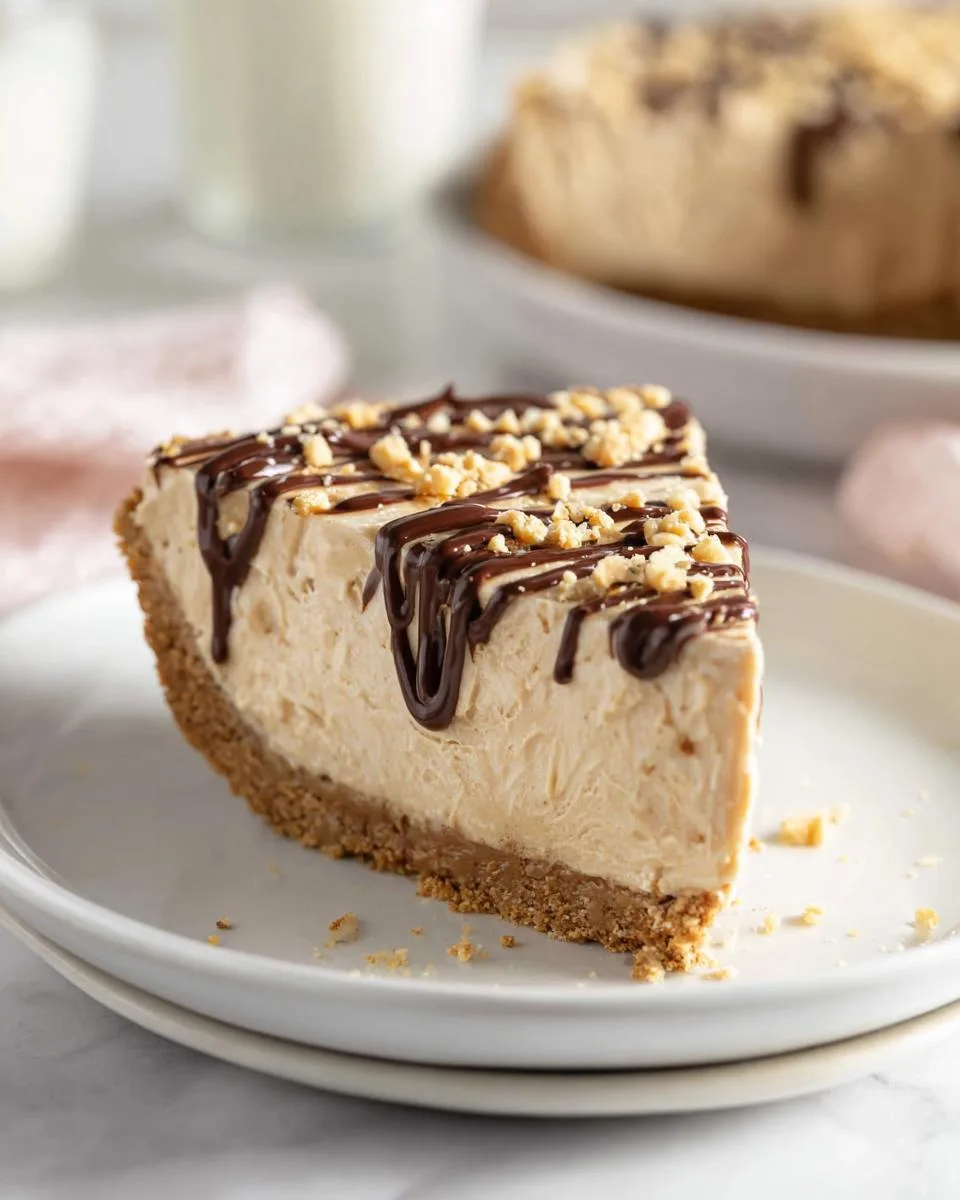
- Sprinkle with chopped peanuts or chocolate shavings before serving.
- Ensure whipped topping is thawed but not liquid before folding in.
- Prep Time: 20 minutes
- Cook Time: 0 minutes
- Category: Dessert
- Method: No-Bake
- Cuisine: American
Nutrition
- Serving Size: 1 slice
- Calories: 580
- Sugar: 32g
- Sodium: 320mg
- Fat: 38g
- Saturated Fat: 14g
- Unsaturated Fat: 18g
- Trans Fat: 0g
- Carbohydrates: 48g
- Fiber: 3g
- Protein: 12g
- Cholesterol: 30mg
Keywords: no-bake peanut butter pie, easy dessert, creamy pie