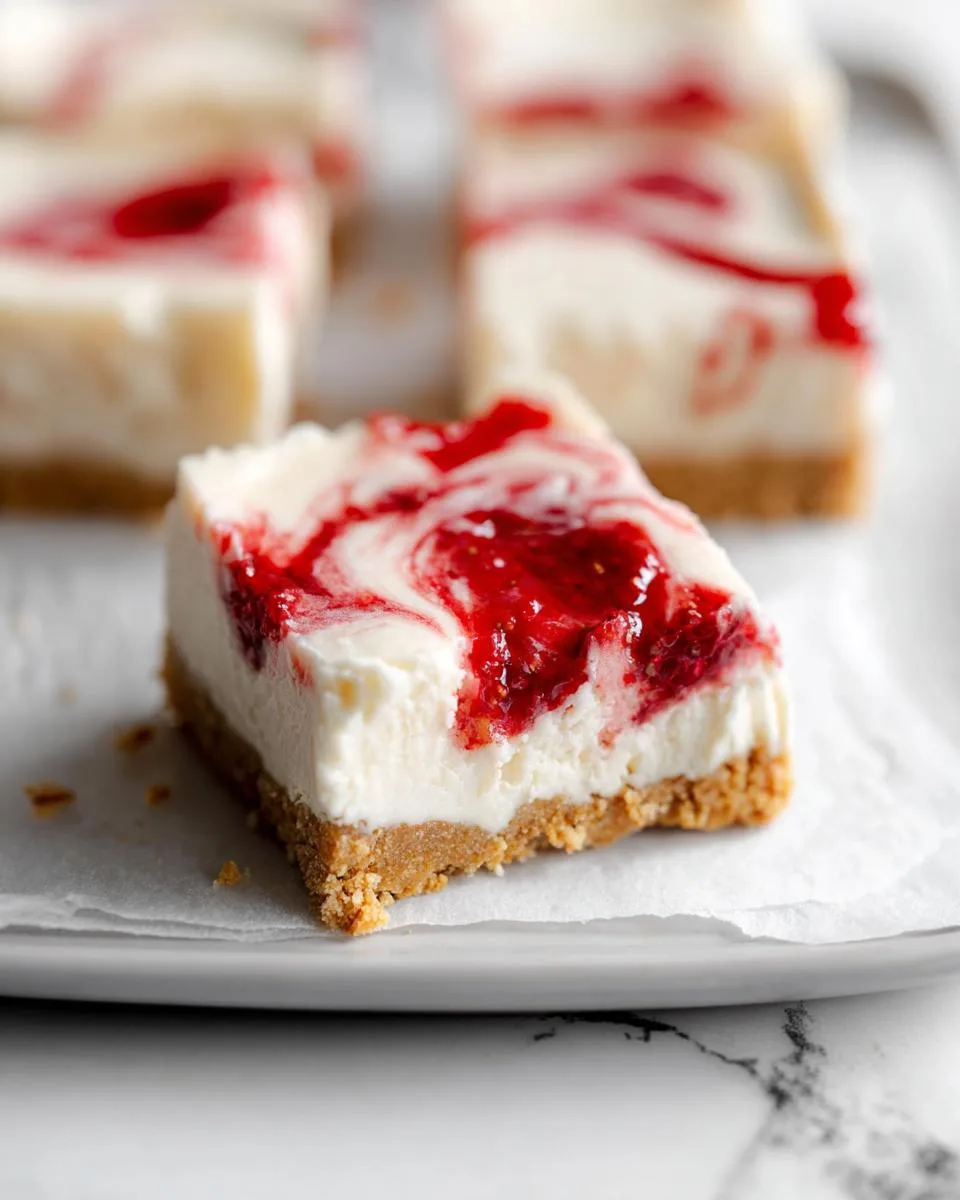
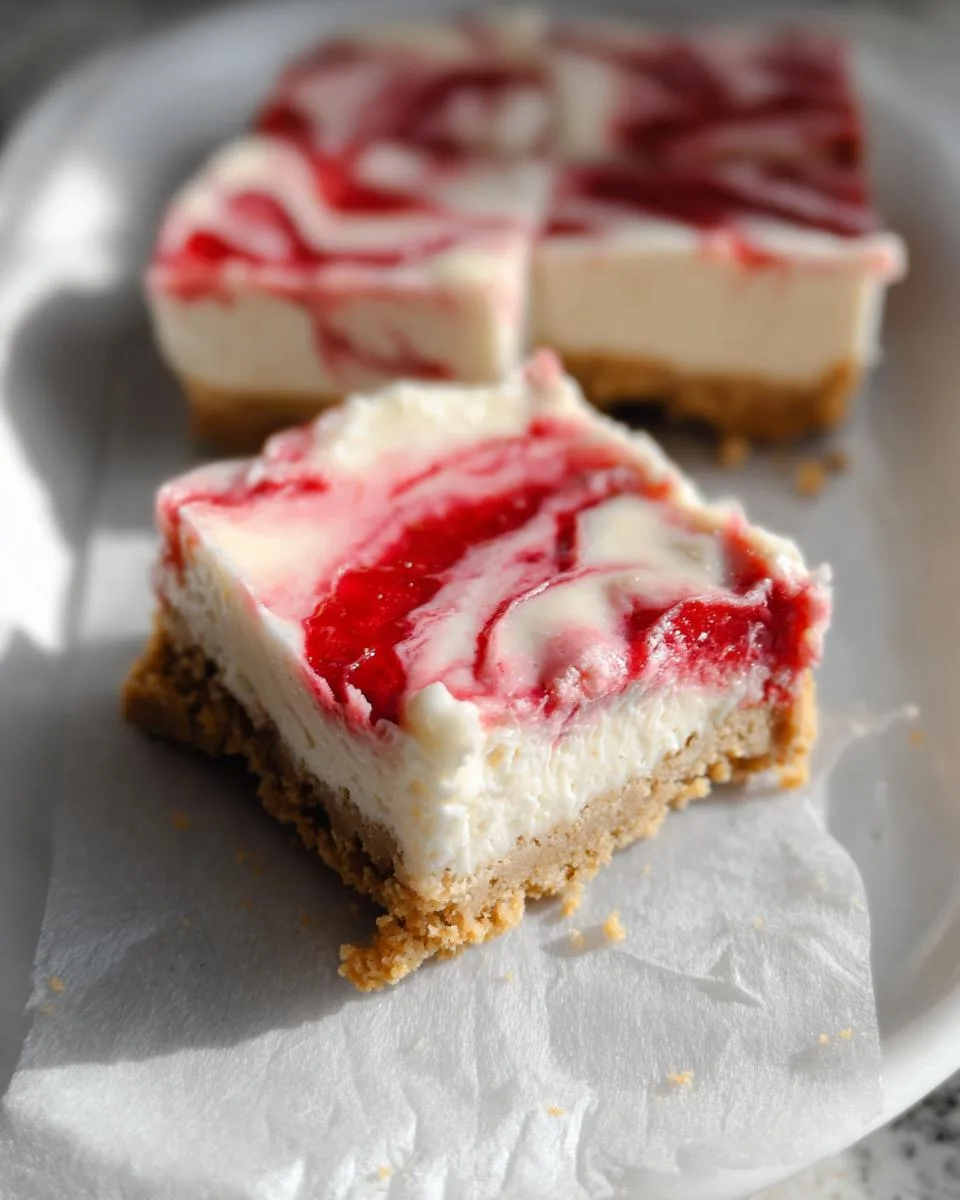
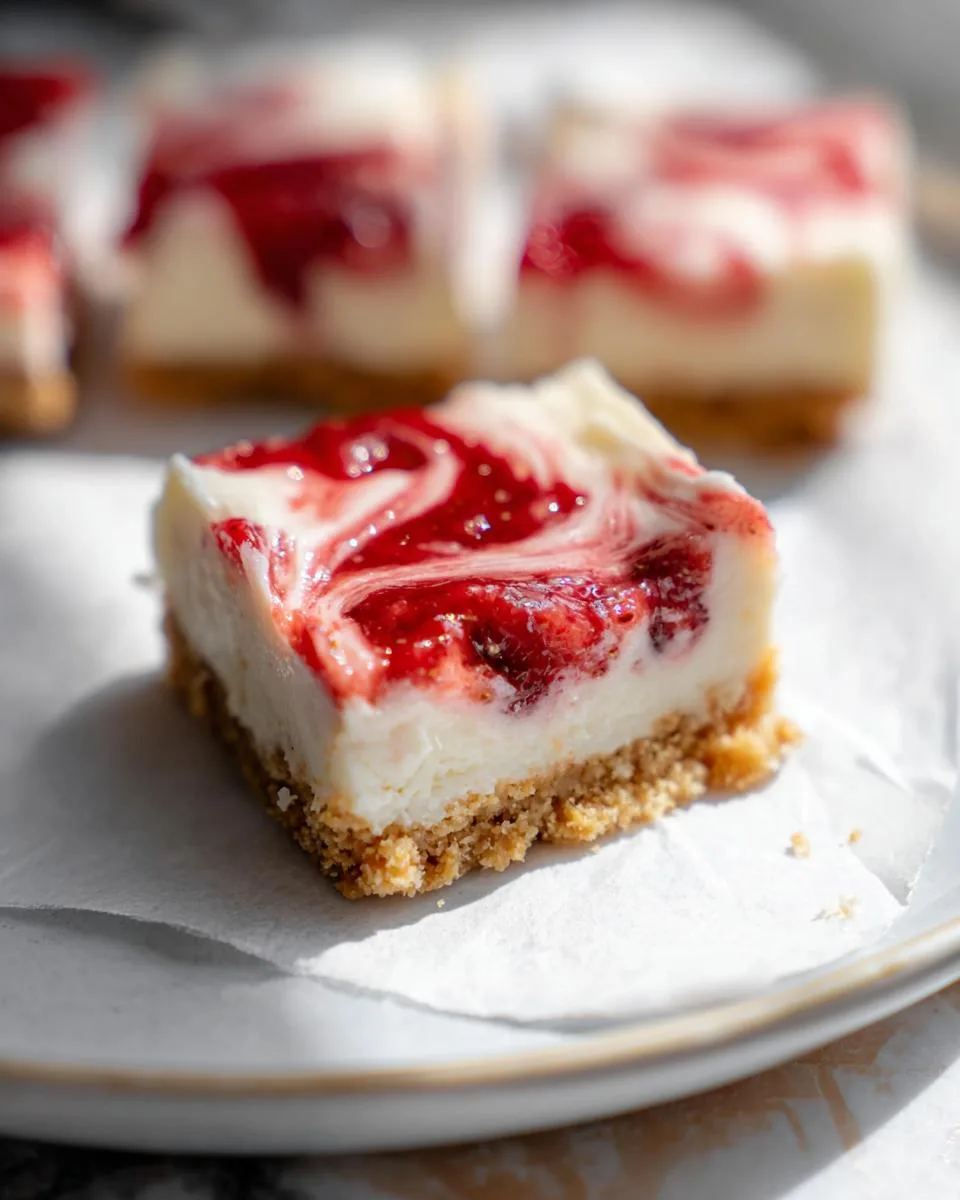
When the summer heat hits and turning on the oven feels impossible, you need this recipe. These No Bake Strawberry Cheesecake Bars are your secret weapon. They give you that stunning, creamy cheesecake with a vibrant strawberry swirl, but without any fuss.
This is the dessert you make when you want maximum praise for minimal effort. It’s make-ahead friendly and disappears fast at any gathering. I first made a batch for a family picnic last Fourth of July, and they were gone before the fireworks even started. Everyone, from kids to grandparents, asked for the recipe.
The secret to perfect No Bake Strawberry Cheesecake Bars isn’t complicated. It’s about patience for the chill time and the joy of swirling that ruby-red sauce. Let’s walk through the recipe together.
Table of Contents
Why You’ll Love This No Bake Strawberry Cheesecake Bars Recipe
Let me tell you exactly why this recipe is about to become your new favorite. It solves so many dessert problems with one simple, creamy solution.
- No oven needed: This is the ultimate easy no bake dessert for hot summer days. Your kitchen stays cool, and you avoid any baking stress.
- Make ahead magic: The recipe is designed to set overnight in your fridge. You can prepare it the day before a party and wake up to a ready-to-serve treat.
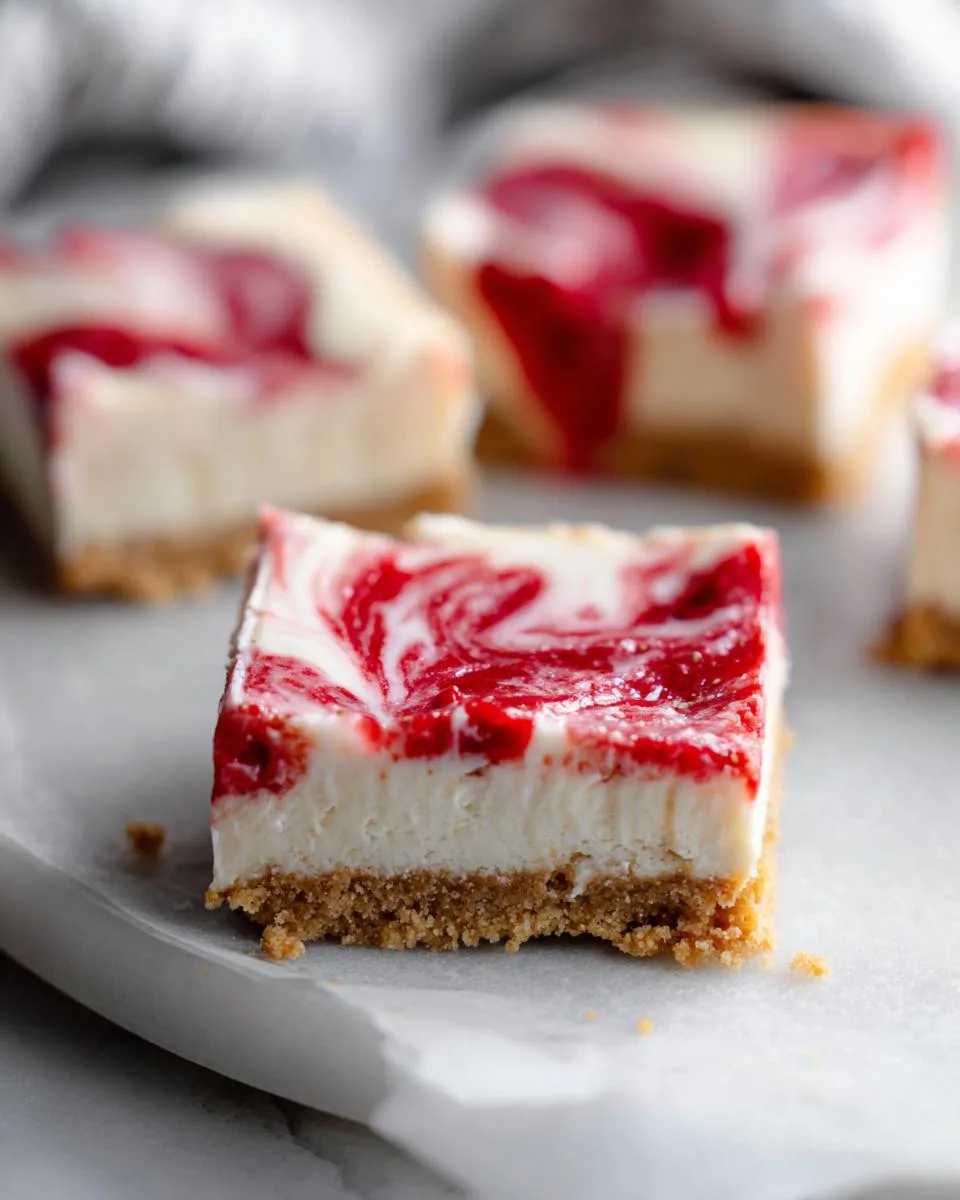
- Perfect texture: The filling is dreamily creamy and light, thanks to folded whipped cream. It is never heavy or overly dense like some cheesecakes can be.
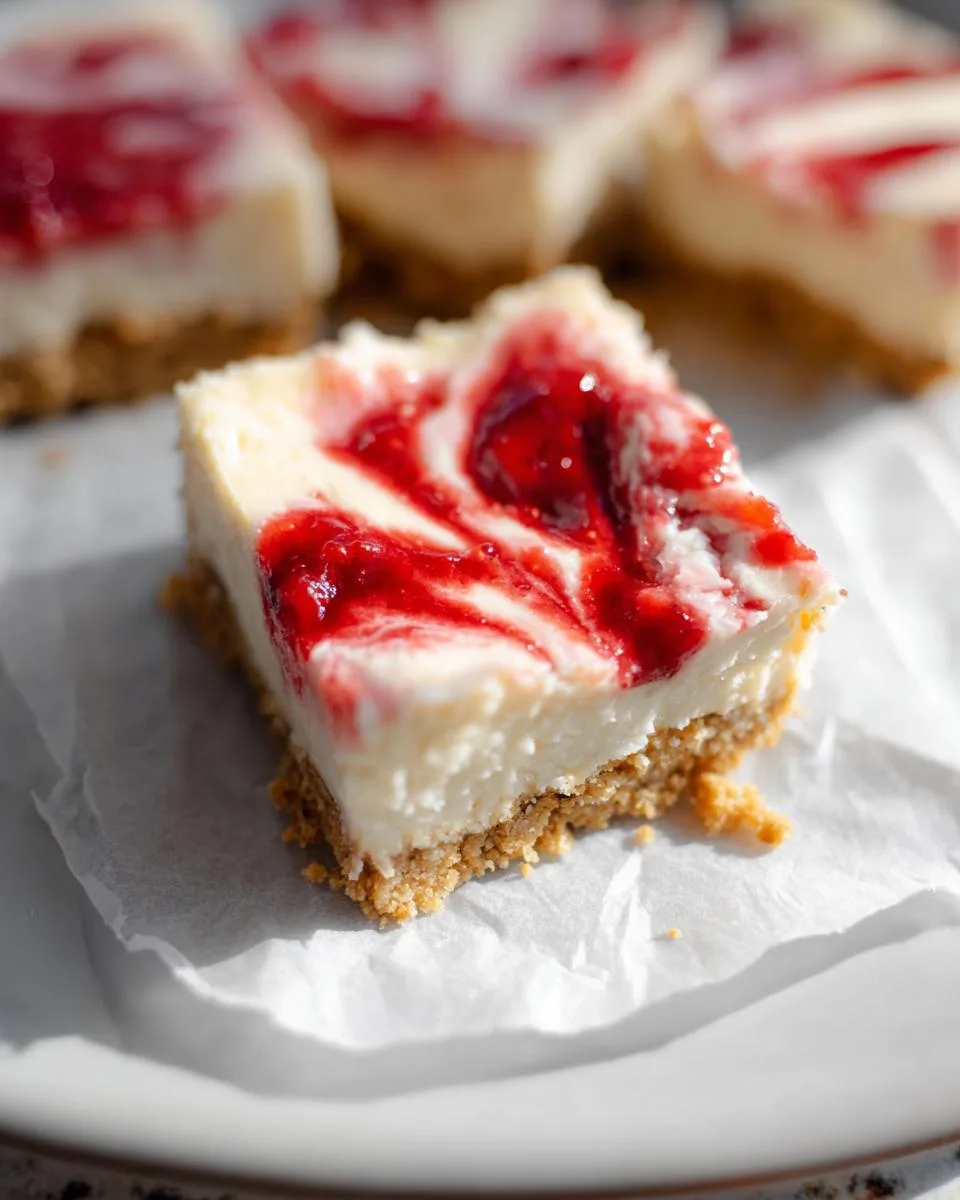
- Real fruit flavor: The homemade strawberry swirl uses simple, fresh ingredients. You get a vibrant, tangy-sweet sauce that tastes like real berries, not artificial syrup.
- Total versatility: These summer cheesecake bars work for every occasion. Bring them to a potluck, serve them at a birthday party, or enjoy a square as a weeknight reward.
- Easy to share: Bars are naturally easier to serve and pass around than a whole cheesecake. No slicing drama, just grab and go happiness.
I make these bars all season long because they are reliable, delicious, and always get a happy reaction from my family and friends.
Ingredients You’ll Need
Gathering your ingredients is the first step to success. These no bake strawberry cheesecake bars use simple, classic items. But paying attention to their quality and temperature makes all the difference in your final dessert.
For the Strawberry Swirl:
- 1 cup fresh or frozen strawberries: If using frozen, thaw them first and drain any extra liquid. This prevents a watery sauce.
- 2 tablespoons granulated sugar: This sweetens the berries and helps them break down into a lovely jammy consistency.
- 1 tablespoon fresh lemon juice: A little acidity balances the sweetness and makes the strawberry flavor pop.
For the Crust & Filling:
- 1 ½ cups graham cracker crumbs: This is about 12 full sheets. You can buy pre-crushed crumbs or pulse whole crackers in a food processor until fine.
- 6 tablespoons unsalted butter, melted and slightly cooled: Melted butter binds the crumbs. Let it cool for a minute so it doesn’t make the crust greasy.
- 1 teaspoon pure vanilla extract: This adds a warm, cozy flavor to the crust.
- 16 ounces (two 8-oz blocks) full-fat cream cheese, softened: This is non-negotiable. Full-fat cream cheese gives you the best stability and rich flavor. Let it sit out for 1-2 hours until it’s soft to the touch.
- ½ cup powdered sugar, sifted: Sifting prevents lumps in your smooth filling. It sweetens the cheesecake perfectly.
- 1 cup heavy whipping cream, cold: Straight from the fridge is best. Cold cream whips up higher and holds its shape, giving the filling a light, airy texture.
Ingredient Note: For a simple twist, try a nuttier crust. You can swap out half of the graham cracker crumbs for crushed digestive biscuits. With everything measured and prepped, you are all set to build your dreamy, no bake dessert.
How to Make No Bake Strawberry Cheesecake Bars
Ready to create some magic? This process is simple, but a few key techniques ensure your no bake cheesecake bars turn out perfect every time. Follow these steps and you will have a stunning dessert with minimal effort.
Step 1: Make and Cool the Strawberry Sauce
Combine your strawberries, granulated sugar, and lemon juice in a small saucepan. Cook this over medium heat, stirring occasionally. You will know it is ready when the berries have completely broken down and the mixture has thickened into a glossy, jam-like sauce, about 8-10 minutes. If you prefer a smooth swirl without seeds, strain the warm sauce through a fine mesh sieve, pressing with a spoon to get all the good juice. Now, here is the crucial part: let this sauce cool completely to room temperature. I often spread it on a plate to speed this up. A warm sauce will melt your creamy filling and make a mess.
Step 2: Prepare the Graham Cracker Crust
In a medium bowl, stir together the graham cracker crumbs, melted butter, and vanilla. Mix until every crumb is moistened and the texture looks like wet sand. Line your 8×8 inch pan with parchment paper, leaving a good overhang on two opposite sides. This overhang is your lifeline for lifting out the whole slab of bars later. Dump the crumb mixture into the pan and press it down firmly and evenly with your fingers or the bottom of a measuring cup. A firm, compact crust will not crumble when you cut it.
Step 3: Whip the Cream Cheese Filling
In a large bowl, beat the softened cream cheese with the sifted powdered sugar. Use an electric mixer on medium speed. Beat it for a good 2-3 minutes until it is completely smooth, creamy, and no lumps remain. Any little lumps now will stay lumps forever, so take your time. Next, in a separate bowl that you have chilled for 10 minutes, pour in the cold heavy cream. Whip it on high speed until you see stiff peaks form. This means when you lift the beaters, the cream stands straight up and holds its shape.
Step 4: Fold and Assemble the Bars
This step requires a gentle touch. Add about one-third of the whipped cream to the cream cheese mixture. Use a rubber spatula to fold it in gently. This lightens the base. Now, add the remaining whipped cream and fold just until no white streaks remain. Be careful not to overmix. You want to keep all that lovely air in the cream. Pour this fluffy filling over your prepared crust and smooth the top. Take your cooled strawberry sauce and dollop spoonfuls randomly over the filling. Take a knife or a skewer and drag it through the dollops in a few simple figure-eight motions to create a beautiful swirl. Do not overdo it.
Step 5: Chill Until Firm
Patience is your final ingredient. Cover the pan tightly with plastic wrap. Place it in the refrigerator to set for at least 4 hours. For the cleanest, most perfect slices that hold their shape, I strongly recommend letting it chill overnight. This is not a step to rush. The filling needs this time to firm up beautifully. When it is ready, use the parchment paper overhang to lift the whole block out of the pan onto a cutting board. Slice into squares and serve.
Pro Tips for the Best No Bake Cheesecake Bars
A few small tricks can take your bars from good to absolutely incredible. These are the little things I have learned from making this recipe dozens of times in my own kitchen.
- Soften cream cheese the right way: Leave the blocks on your counter for a full 1-2 hours. They should be so soft you can easily press a finger into them. Microwaving in short bursts can work in a pinch, but it often creates hot spots that lead to a slightly grainy texture.
- Chill everything for the cream: For the fastest, fluffiest whipped cream, place your metal mixing bowl and beaters in the freezer for 10 minutes before you start. Cold tools help the cream whip up higher and hold its structure better in the filling.
- Press the crust with purpose: Do not just pat the crumbs down. Use the bottom of a flat measuring cup or a glass to press firmly and evenly across the whole pan. A compact crust will not fall apart when you cut into your perfect no bake cheesecake bars.
- Cool the sauce completely: This tip is non-negotiable. To test, dab a tiny bit of strawberry sauce on the inside of your wrist. If it feels warm at all, let it keep cooling. A room-temperature sauce creates those beautiful, distinct swirls instead of melting into the filling.
- Charlotte’s secret for clean cuts: For those gorgeous, sharp edges, run your sharp knife under very hot water. Wipe it completely dry with a towel, then make your slice. Repeat this dip, wipe, and cut process for every single slice. The warm blade glides through the creamy filling and crisp crust like a dream.
Follow these simple cream cheese tips and you will have a dessert that looks as professional as it tastes homemade and delicious.
Common Mistakes to Avoid
Even the easiest recipes have little pitfalls. Knowing what to watch for means your no bake strawberry cheesecake bars will turn out perfect every single time. Here are the most common stumbles and exactly how to fix them.
- Using cold cream cheese: This is the number one reason for a lumpy, grainy filling. Cold cream cheese will not blend smoothly. Fix it: Plan ahead. Leave the blocks on your kitchen counter for 1 to 2 hours. They are ready when you can press your finger into them easily.
- Over-swirling the topping: It is so tempting to keep swirling that beautiful red sauce. But if you do, it just blends into the filling and turns the whole thing pink. Fix it: Use restraint. Drop dollops of sauce on top, then make just 4 or 5 simple figure-eight passes with a knife. You want pretty ribbons, not a pink blend.
- Not chilling long enough: If you try to cut the bars after just 2 hours, they will be soft, messy, and fall apart. Fix it: Be patient. The four-hour minimum is crucial, but the overnight chill is truly your best friend for a firm, sliceable texture and clean edges.
- Whipping cream in a warm bowl: Heavy cream needs a cold environment. A warm bowl makes it impossible to get those firm, stiff peaks you need. The cream might look soupy or even separate. Fix it: Before you start, place your metal mixing bowl and beaters in the freezer for about 10 minutes. This simple step makes whipping fast and foolproof.
Delicious Variations
One of my favorite things about this recipe is how easily you can make it your own. Once you master the basic no bake strawberry cheesecake bars, try one of these fun twists for a whole new dessert experience.
- Mixed Berry Swirl: Swap the cup of strawberries for a blend of your favorite berries. I use equal parts raspberries, blueberries, and chopped strawberries. The mix creates a gorgeous, deep purple sauce with a more complex, tangy flavor.
- Lemon Blueberry: For a bright, sunny variation, make a simple blueberry sauce instead of strawberry. Then, add one tablespoon of finely grated lemon zest right into the cream cheese filling. The lemon makes the creamy filling taste incredibly fresh and light.
- Chocolate Crust: If you love chocolate, this swap is for you. Substitute the graham cracker crumbs with an equal amount of crushed chocolate wafer cookies or Oreo crumbs (scrape out the filling first). The rich chocolate base pairs perfectly with the sweet, creamy filling.
- Mini Bars: Perfect for parties or portion control. Line a muffin tin with paper liners. Divide the crust mixture among the cups and press it down. Add the filling and a small dollop of sauce. The smaller size means they set faster, usually in just 2 to 3 hours of chilling.
Do not be afraid to get creative. The basic method stays the same, so you can play with flavors and have a new favorite dessert every time.
Serving Suggestions
These bars are a star on their own, but a few simple touches can make them feel extra special for any occasion. For a summer cookout or potluck, arrange the chilled squares on a simple platter. They are easy for guests to grab and enjoy without any fuss. If you are plating individual servings, dress them up with a quick dollop of fresh whipped cream and a single, perfect strawberry on the side.
For a cozy weeknight treat, I love enjoying a simple square with a hot cup of coffee. The creamy, cool dessert with the warm drink is a perfect match. While these no bake strawberry cheesecake bars work beautifully as a standalone dessert, they also pair wonderfully with a light, fresh fruit salad for a fuller spread. For a festive touch that adds a pop of color and a burst of strawberry flavor, sprinkle a little crushed freeze-dried strawberry powder over the platter just before serving.
FAQs About No Bake Strawberry Cheesecake Bars
I get a lot of the same great questions about this recipe. Here are quick, clear answers to help you make the best bars possible.
Can I use frozen strawberries?
Absolutely. Thaw them completely first, then drain off all the excess liquid in the bottom of the bowl. This step is key to prevent a watery strawberry sauce that won’t swirl properly.
How long do these bars last in the fridge?
They keep beautifully. Store them in an airtight container or keep the pan tightly wrapped with plastic. They will stay fresh and delicious for 4 to 5 days.
Can I freeze these cheesecake bars?
Yes, freezing works well. First, freeze the whole pan or individual bars on a baking sheet until they are solid. Then, wrap them tightly in plastic wrap and foil. Thaw them in your refrigerator overnight before serving for the best texture.
Why is my filling runny?
A runny filling usually has three common causes. First, the heavy cream may not have been whipped to stiff peaks. Second, the strawberry sauce might have been still warm when added. Finally, the bars simply may not have chilled long enough to set fully.
What are the calories in one bar?
This can vary based on the specific brands you use. As a general estimate, one bar from this recipe contains roughly 250 to 300 calories. For precise nutrition, I recommend using an online calculator with your exact ingredients.
Time to Make Your No Bake Strawberry Cheesecake Bars
That is all there is to it. You now have the recipe for the easiest, most impressive no-oven-required dessert. These No Bake Strawberry Cheesecake Bars deliver that classic, creamy cheesecake flavor with just a bit of patience for the chilling. I truly hope this recipe becomes your go-to for every summer gathering and sweet craving.
I would love to hear how yours turns out. Did your family go crazy for them? Share your results and a photo in the comments below. For more easy, family-friendly dessert ideas that never require turning on the oven, come follow along on Pinterest. I cannot wait to see your beautiful, swirled creations. Happy no-bake baking.
Print
No Bake Strawberry Cheesecake Bars
- Total Time: 240 minutes
- Yield: 16 servings 1x
- Diet: Low Lactose
Description
Enjoy these wonderfully creamy no-bake strawberry cheesecake bars, perfect for any occasion.
Ingredients
- 1 cup fresh or frozen strawberries
- 2 tablespoons granulated sugar
- 1 tablespoon lemon juice
- 1 ½ cups graham cracker crumbs
- 6 tablespoons unsalted butter, melted
- 1 teaspoon vanilla extract
- 16 ounces cream cheese, softened
- ½ cup powdered sugar
- 1 cup heavy cream, cold
Instructions
- Prepare the strawberry swirl: In a small saucepan, combine the strawberries, granulated sugar, and lemon juice. Cook over medium heat, stirring occasionally, until the strawberries break down and the mixture thickens into a sauce, about 8-10 minutes. Strain the sauce through a fine mesh sieve if you prefer a smooth texture, pressing to extract as much liquid as possible. Set aside to cool completely.
- Create the crust: In a medium bowl, mix the graham cracker crumbs, melted butter, and vanilla extract until well combined. The mixture should look like wet sand.
- Press the crust evenly into the bottom of an 8×8-inch baking pan lined with parchment paper, ensuring there are overhangs for easy lifting later.
- For the cheesecake filling: In a large bowl, beat the softened cream cheese and powdered sugar together until smooth and creamy.
- In a separate, chilled bowl, whip the cold heavy cream until stiff peaks form.
- Gently fold the whipped cream into the cream cheese mixture until just combined. Be careful not to overmix, as this can make the filling less stable.
- Spread the cheesecake filling evenly over the graham cracker crust.
- Dollop the cooled strawberry sauce over the cheesecake filling. Use a knife or skewer to gently swirl the sauce into the filling to create a marbled effect. Avoid overswirling.
- Cover the pan tightly with plastic wrap and refrigerate for at least 4 hours, or preferably overnight, until firm.
- Cut into squares before serving.
Notes
- For a firmer crust, you can bake it for 8-10 minutes at 350°F (175°C) and let it cool completely before adding the filling.
- Ensure your cream cheese is truly at room temperature for a smooth, lump-free filling.
- Using parchment paper with overhang makes removing the bars from the pan much easier.
- Prep Time: 20 minutes
- Cook Time: 0 minutes
- Category: Dessert
- Method: No-Bake
- Cuisine: American
Nutrition
- Serving Size: 1 bar
- Calories: 0 kcal
Keywords: no-bake cheesecake, strawberry dessert, easy dessert, summer dessert