Have you ever grabbed a store-bought protein bar, taken a bite, and felt like you were chewing on sweetened chalk? I know I have. After one too many disappointing, overpriced bars, I set out to create the perfect homemade protein bar recipe.
It had to be no-bake, require simple ingredients, and actually taste like a treat, not a supplement. After years of testing in my real, often messy kitchen, I finally nailed it. The secret to a great protein bar isn’t a long list of weird ingredients, it’s about balancing chew, flavor, and that satisfying snap of dark chocolate.
This recipe is my ultimate solution for a quick, healthy snack that you can customize with what you have. It’s the bar I make every Sunday to fuel our busy week. Let’s break it down step by step.
Table of Contents
Why You’ll Love This Protein Bar
This homemade protein bar recipe is a total game-changer for your snack routine. It checks every box for a busy home cook looking for something wholesome, delicious, and easy. Here is exactly why this will become your new favorite.
- No Baking Required: The whole process happens in one bowl. There is no need to turn on your oven, which is perfect for hot summer days or when you want a quick kitchen win.
- Fully Customizable: This recipe is your playground. Swap the peanut butter for almond butter, use a plant-based protein powder, or toss in different nuts and seeds. You can match it to your diet and cravings perfectly.
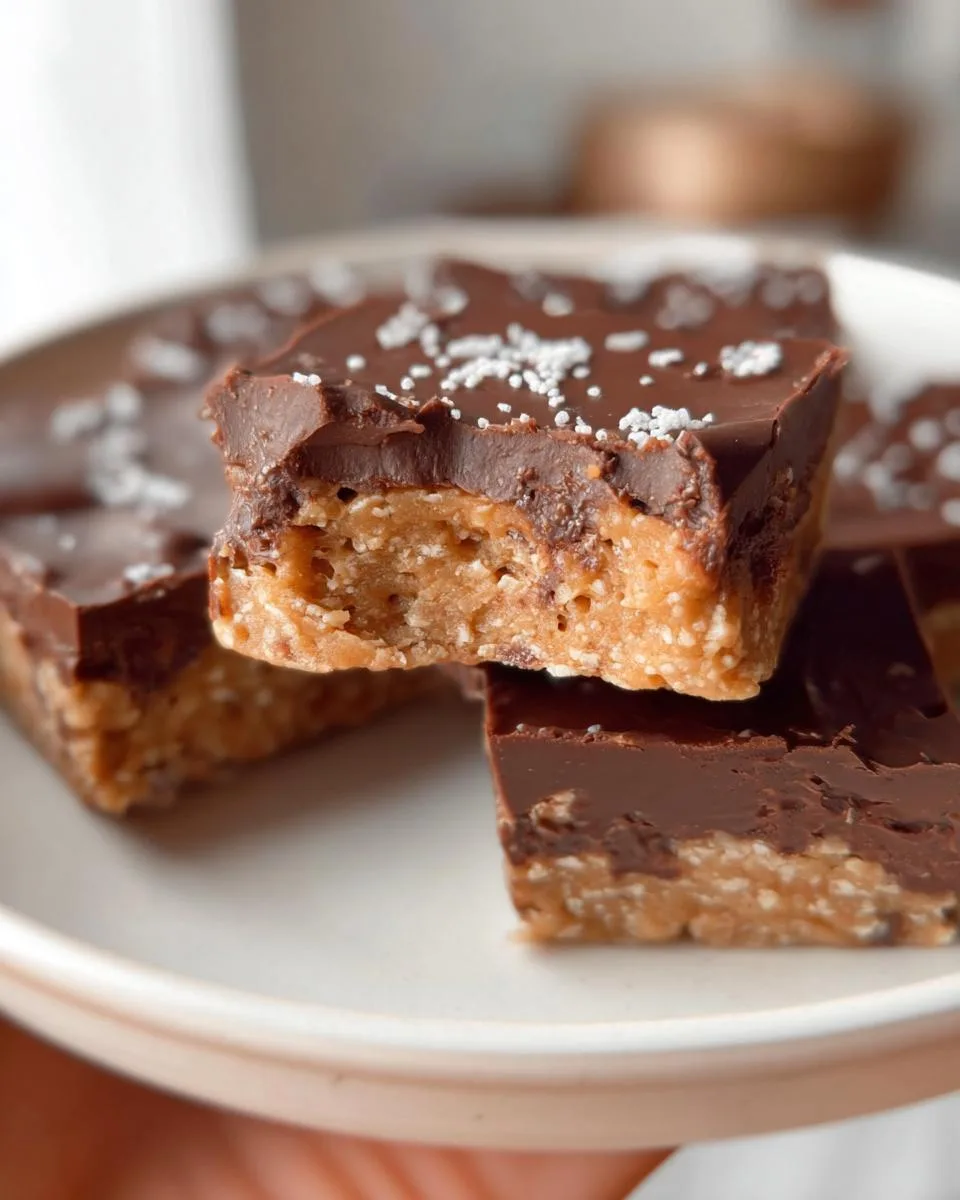
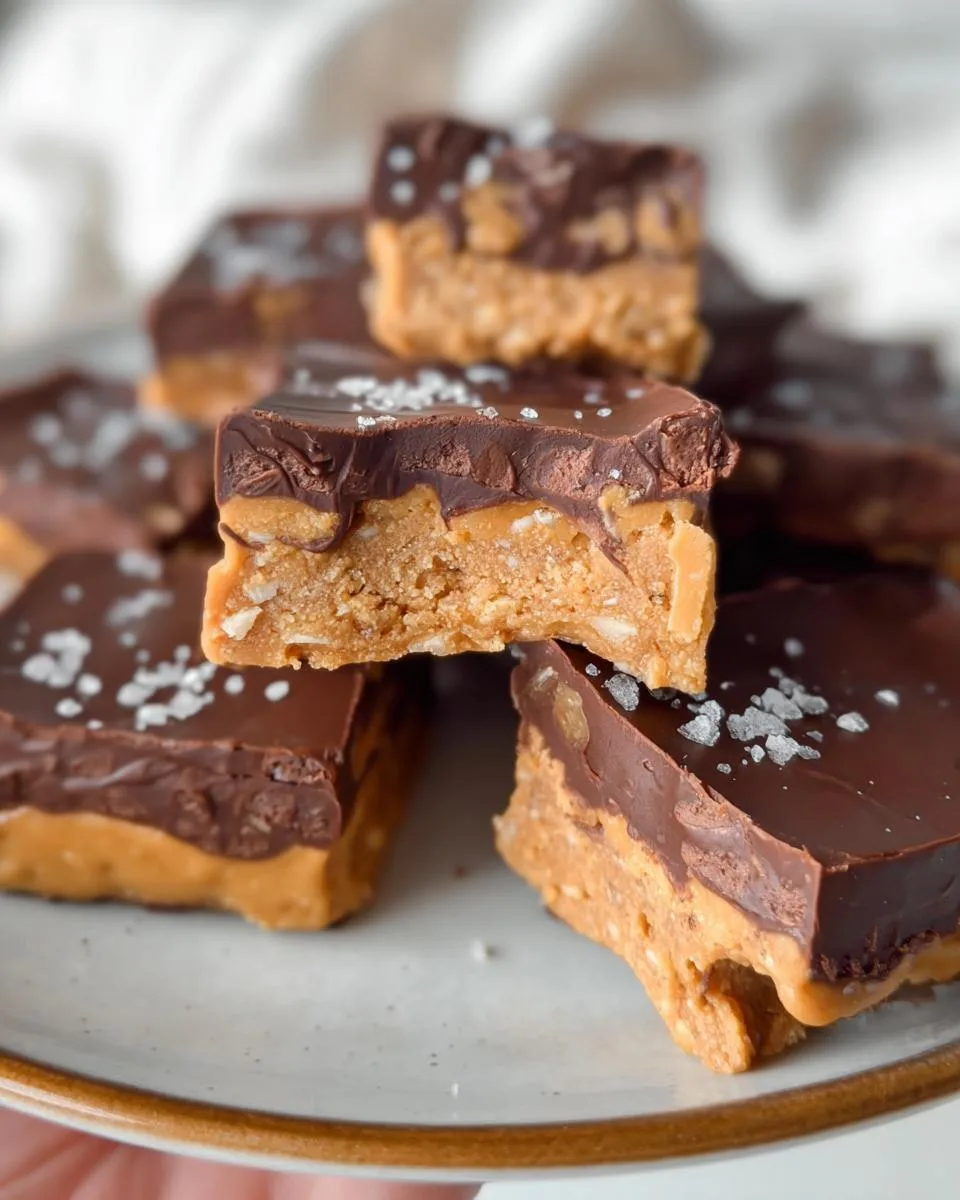
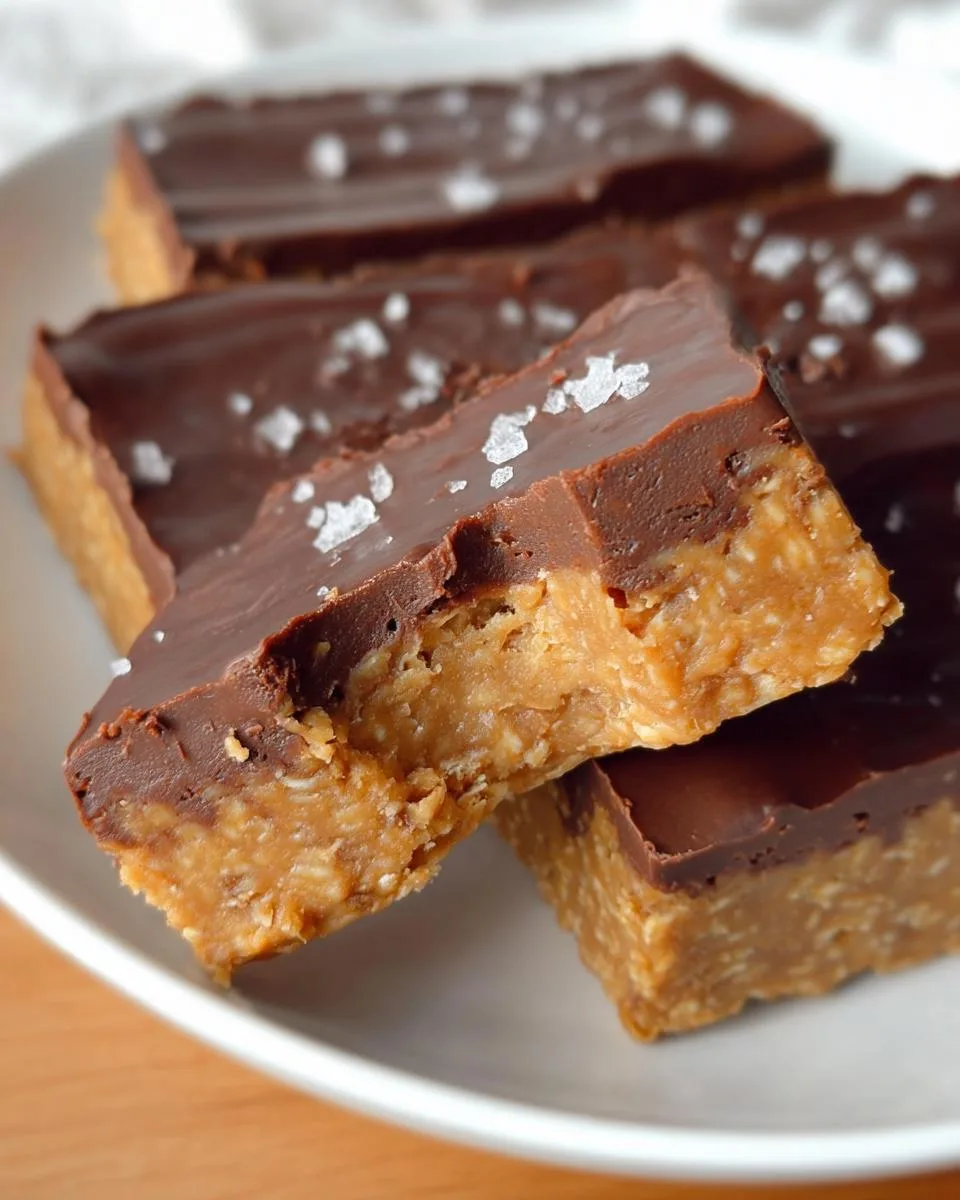
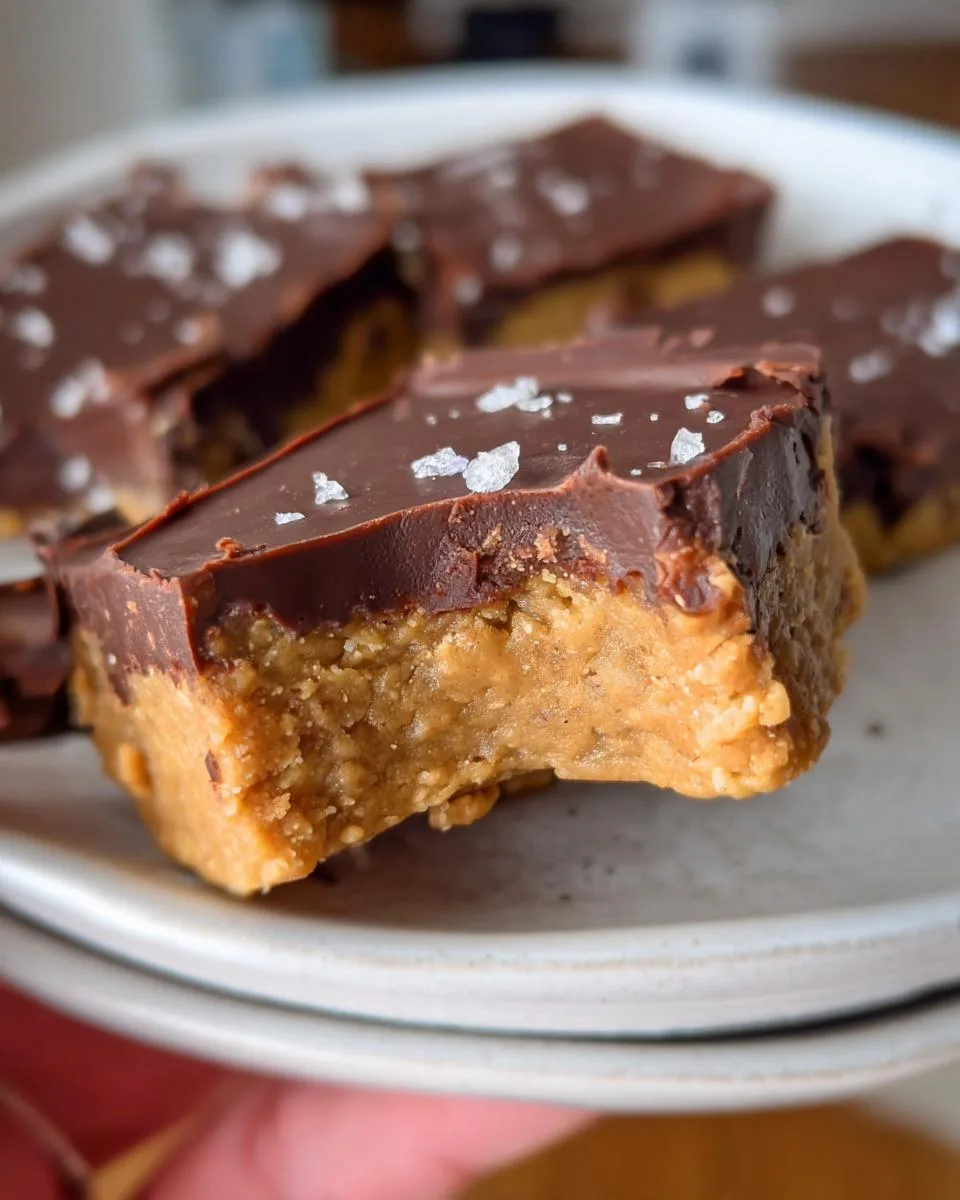
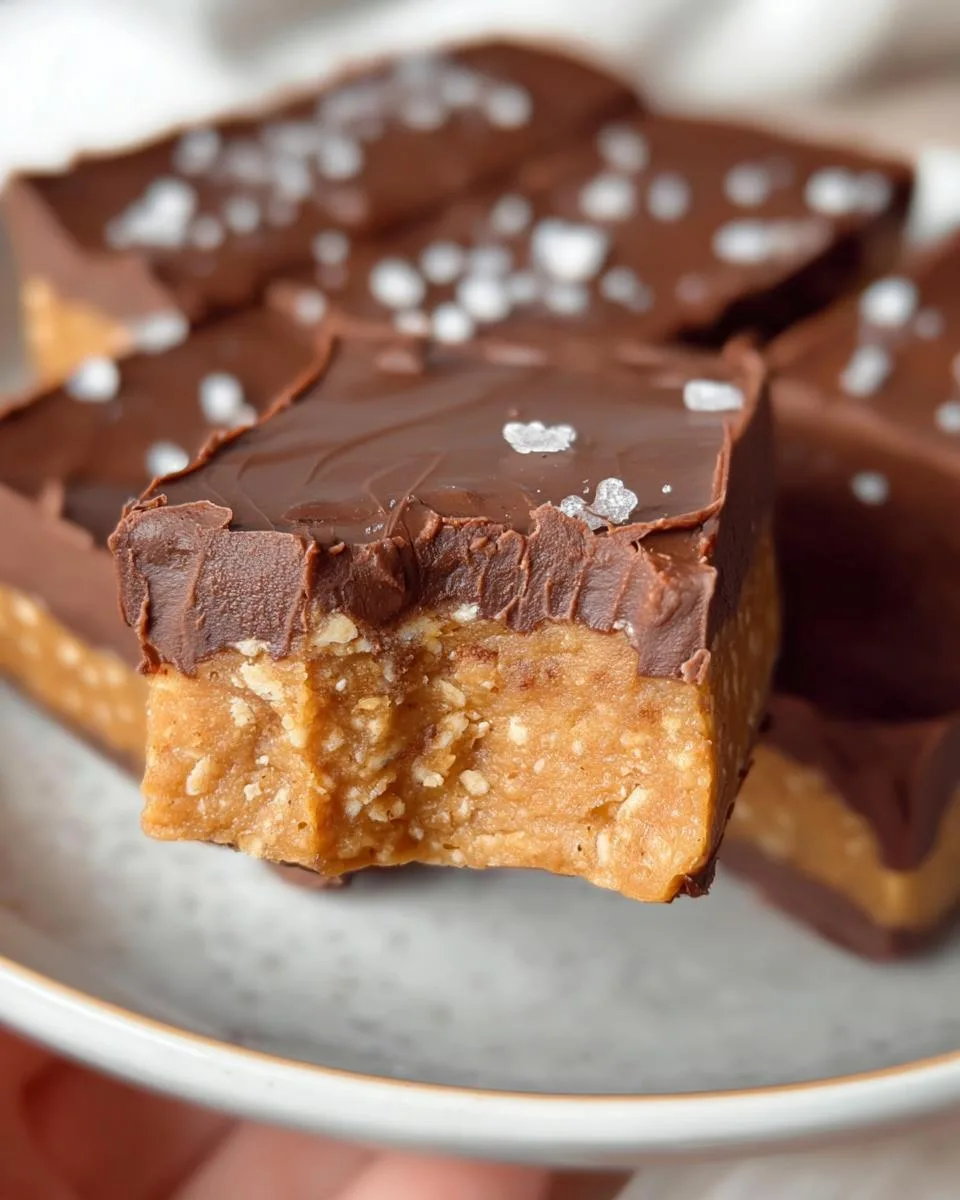
- Satisfying Texture: Forget that dry, chalky feel. The base is wonderfully chewy from the peanut butter, and the dark chocolate topping sets into a firm, snappy shell. It feels indulgent, not like a chore to eat.
- Incredibly Cost-Effective: Making a batch of twelve bars at home costs a fraction of what you would pay for premium store-bought bars. Your wallet will thank you.
- Clean Ingredients You Know: You are in complete control. There are no mysterious preservatives, fillers, or excessive sugars. You can pronounce every single thing that goes into these homemade protein bars.
I make these every single week for my family. They are the reliable, high-protein snack we all reach for first. Once you try them, you will never go back to the expensive, underwhelming options from the store.
Ingredients You’ll Need
These simple ingredients come together to create a bar that’s both nutritious and indulgent. Each one plays a specific role in giving you that perfect chewy base and snappy chocolate top.
- 1 ½ cups creamy peanut butter: This is the glue of your protein bar. Use a natural, drippy style for easiest mixing. The oils help bind everything together into a cohesive dough. If your peanut butter is stiff and dry straight from the jar, give it a good stir or let it sit at room temperature first.
- ½ cup vanilla whey protein powder: This provides the primary protein punch. For a vegan bar, a plant-based vanilla protein powder works beautifully. The vanilla flavor complements the other ingredients without being overpowering.
- ½ cup almond flour: Don’t skip this. It adds crucial structure and a mild nutty flavor, keeping the bars naturally gluten-free. It soaks up moisture and prevents a greasy texture.
- ¼ cup pure maple syrup: This natural sweetener adds just the right amount of moisture and sweetness, and it acts as a binder. If you’re out, an equal amount of honey is a perfect substitute.
- ⅓ cup dark chocolate chips: For mixing right into the base. Choose a brand you enjoy eating on its own. They’ll give you little pockets of melty chocolate in every bite.
- ¼ cup chopped almonds, optional: I love adding these for a pleasant crunch and extra healthy fats. They make the bar feel more substantial.
- 2 tablespoons coconut oil, divided: You’ll use 1 tablespoon melted with the topping chocolate to make it smooth and pourable. The remaining tablespoon gets drizzled on top for a professional, shiny finish and a firm set.
- ½ cup dark chocolate chips for topping: This creates that signature chocolate shell. Using a separate portion from the mix-ins ensures you get a generous, even layer.
Substitution Tip: If you have a peanut allergy, sunflower seed butter or almond butter are fantastic swaps. The flavor will be different, but the method stays exactly the same. With these pantry staples, you’re just minutes away from a superior homemade snack.
How to Make This Protein Bar
This is where the magic happens, and I promise it’s easier than you think. We will build our bars in layers, starting with a thick, peanut buttery dough and finishing with that glorious chocolate shell. Follow these simple steps for perfect homemade protein bars every time.
Step 1: Make the Protein Dough Base
Grab a large mixing bowl. Add your creamy peanut butter, vanilla protein powder, almond flour, and pure maple syrup. Now, get ready to mix. I like to start with a sturdy spoon, but don’t be afraid to get your clean hands in there. The mixture will be very thick.
You want to mix until every single dry pocket of protein powder and almond flour is gone. The result should be a uniform, dough-like ball that holds together when you squeeze it. This is the foundation of your protein bars.
Step 2: Fold in Mix-Ins
Now for the fun part. Add the ⅓ cup of dark chocolate chips and the optional chopped almonds to your dough. Use a folding motion with your spoon or hands to gently distribute them.
The key word here is gently. If you overmix or handle the dough too much, the warmth from your hands will start to melt the chocolate chips. We want them to stay whole for little bursts of flavor in the final bar.
Step 3: Press into Pan
Take an 8×8 inch baking dish and line it with parchment paper. Let the paper hang over two opposite sides like little handles. This makes removal so easy. Transfer your dough into the prepared pan.
Here is the most important step for non-crumbly bars: Press it down. Use your fingers, the flat bottom of a measuring cup, or a spatula to press the dough into a firm, even, and compact layer. Get into the corners and press hard. You are eliminating air pockets, which is what makes the bars hold together after slicing.
Step 4: Prepare the Chocolate Topping
In a small microwave-safe bowl, combine the ½ cup of dark chocolate chips for the topping with 1 tablespoon of the coconut oil. Microwave this in 30-second intervals. After each interval, take the bowl out and stir well.
Repeat until the mixture is completely smooth and glossy. If you prefer, you can melt them together in a double boiler over simmering water. Just be sure to stir constantly until melted.
Step 5: Top and Set
Pour your smooth melted chocolate directly over the pressed dough base. Quickly use a spatula to spread it into a thin, even layer that covers the entire surface. Now, take that remaining 1 tablespoon of coconut oil. If it’s solid, melt it for a few seconds. Drizzle it in thin lines over the wet chocolate topping.
This little trick gives the top a beautiful sheen and helps it set with a perfect snap. Place the whole pan in the refrigerator. Let it chill for at least 30 minutes. The chocolate topping should be completely firm to the touch and not sticky before you move on.
Step 6: Slice and Store
Time to reveal your creation. Grab the parchment paper handles and lift the entire block of protein bars out of the pan. Place it on a cutting board. Using a sharp knife, slice it into 12 even rectangles. For super clean cuts, wipe your knife blade with a warm, damp cloth between slices. Your homemade protein bars are ready.
Store them in an airtight container in the refrigerator. They keep their perfect texture best when cold and will last for up to two weeks. You can also freeze them for up to three months.
Pro Tips for the Best Protein Bar
These little nuggets of wisdom come from making batch after batch. They are the difference between a good bar and a great, foolproof homemade protein bar.
- Mind Your Peanut Butter Temperature: If your peanut butter is cold from the pantry, let it sit on the counter for 20 minutes. Room-temperature, creamy peanut butter mixes into a smooth dough effortlessly. Cold peanut butter fights you every step of the way.
- Press with Purpose: This is non-negotiable. When you press the dough into the pan, use real force. I lean my whole weight onto a flat-bottomed cup. You want it so compact that it feels almost like a solid block. This is your secret against crumbly bars.
- Melt Chocolate with Care: My secret is patience. Whether using a microwave or double boiler, low and slow wins. Stir constantly. The moment it’s smooth, take it off the heat. Burnt chocolate is bitter and grainy, and it ruins the perfect snap we want.
- Chill Without Peeking: Set a timer for 30 minutes and walk away. The chocolate topping needs that full time to harden completely. It should look matte, not shiny, and feel firm when you gently touch it. Slicing too early is the main cause of smeared chocolate.
- Store for Success: These bars live in the fridge. An airtight container keeps them fresh and firm for up to two weeks. In a warm kitchen, they will soften quickly, so I don’t recommend leaving them out on the counter for long.
Follow these simple protein bar tips, and you will get a professional-looking, delicious result every single time. It is that easy.
Common Mistakes to Avoid
Even the simplest recipes have little traps. Knowing about these common protein bar pitfalls before you start will save you time and guarantee a perfect batch. Here is what to watch for.
- Using the Wrong Peanut Butter: A thick, dry, or poorly stirred natural peanut butter is the top reason for crumbly bars. Why it happens: The oils separate, and the dough lacks the moisture to bind. How to fix it: Use a creamy, no-stir peanut butter. If using natural, stir the entire jar vigorously until completely smooth and homogenous before you measure.
- Not Pressing the Base Firmly: If you just pat the dough into the pan, your bars will fall apart when you pick them up. Why it happens: The ingredients need compression to stick together. How to fix it: Use the bottom of a flat glass or measuring cup. Press down with all your strength, especially in the corners, until the layer is dense and compact with no air pockets.
- Slicing Before Fully Set: Cutting into soft, wet chocolate ruins your beautiful topping. Why it happens: We all get excited, but chocolate needs time to harden. How to fix it: Wait the full 30 minutes in the fridge. The surface should look matte, not glossy, and feel completely firm to a gentle touch. For faster results, pop the pan in the freezer for 15 minutes.
Don’t panic if you make a mistake. These bars are very forgiving. Just press a crumbly piece back together, or pop a soft one back in the fridge to firm up.
Delicious Variations
Once you master the basic recipe, making different versions is the best part. Think of this base as your blank canvas. You can paint it with any flavors you love. Here are a few of my favorite homemade protein bar spins to get your creativity flowing.
- Chocolate Peanut Butter Cup: For the ultimate treat, swap the vanilla protein powder for a rich chocolate version in the dough base. Then, skip the chocolate topping. Instead, melt ½ cup of creamy peanut butter with 1 tablespoon of coconut oil and drizzle that over the pressed base. It tastes just like your favorite candy.
- Tropical Twist: Bring some sunshine to your snack. Use a vanilla plant-based protein powder and replace the peanut butter with coconut butter. Fold ¼ cup of chopped dried mango and ¼ cup of unsweetened coconut flakes into the dough. It feels like a vacation in a bar.
- Cookie Dough Bar: This one is for the dough lovers. Use vanilla casein protein powder, which gives a thicker, dough-like texture. Fold in ¼ cup of mini chocolate chips and a generous pinch of flaky sea salt into the base. Top with the classic dark chocolate shell for a perfect sweet and salty bite.
- Nut-Free Version: For schools or allergies, sunflower seed butter is a fantastic, nut-free swap for peanut butter. Pair it with a pumpkin seed or soy-based vanilla protein powder if you can find it. The bars will have a slightly earthier, but still delicious, flavor.
Do not be afraid to experiment. The method stays the same, so you can create a whole lineup of healthy snacks. Try adding different seeds, a swirl of almond butter, or even a sprinkle of cinnamon.
Serving Suggestions
One of the best things about these homemade protein bars is how perfectly they fit into your day. They are more than just a post-workout bite. Here are my favorite ways to enjoy them.
- Post-Workout Fuel: Grab one within 30 minutes of exercise. Pair it with a big glass of water or a glass of milk. The protein and healthy fats are ideal for muscle recovery and will keep you feeling satisfied.
- Morning Commute: Need a quick breakfast? These bars are your answer. Enjoy one with a banana or an apple and your morning coffee. It is a balanced, on-the-go start that actually tastes good.
- After-School Snack: Kids love these. They are a much better option than sugary treats, providing lasting energy for homework and play. I pack them in lunchboxes straight from the fridge.
- Hiking or Travel: Their sturdy, no-mess format is perfect for adventures. They won’t melt or crumble easily in a backpack. Toss a few in your picnic basket or carry-on bag for a reliable, healthy boost.
- Dessert Alternative: Craving something sweet after dinner? Serve one straight from the fridge. The cool, chewy base and snappy chocolate shell feel like a real treat, but you know exactly what is in it.
These bars work beautifully as a standalone snack or as part of a bigger meal. Keep them chilled, and you have a ready-to-go option for almost any occasion.
FAQs About This Protein Bar
Can I use a different protein powder?
Yes, you can, but the texture will change slightly. Whey protein powder blends smoothly and gives a classic result. Plant-based powders, like pea or brown rice protein, can make the dough a bit denser and grainier. Casein protein creates a thicker, more dough-like bar that is very satisfying. For the best flavor, stick with vanilla or chocolate varieties.
How do I store these homemade protein bars?
Always store them in an airtight container in the refrigerator. They stay firm and fresh for up to two weeks this way. For longer storage, you can freeze them for up to three months. Just place parchment paper between layers so they do not stick together. Thaw frozen bars overnight in the fridge before eating.
Why are my bars crumbly?
Crumbly bars usually mean the base was not pressed firmly enough into the pan. You need to compact the dough to bind the ingredients. Using a very dry, thick, or unstirred natural nut butter can also cause this. For perfect bars, press the base with serious force and use a creamy, well-mixed nut butter.
What are the nutrition facts for this protein bar?
Nutritional values depend entirely on your specific brands. As a general estimate, one bar has roughly 280 calories, 20g of fat, 15g of carbs, and 12g of protein. For exact numbers, use an online nutrition calculator and input the products you actually used. This gives you the most accurate data for your diet.
Can I make these without nuts?
Absolutely. For a nut-free protein bar, replace the peanut butter with sunflower seed butter. Use sunflower seed flour or oat flour instead of almond flour. Just be aware that sunflower seed butter can turn the dough a slightly green color over time. This is a harmless chemical reaction and does not affect the taste or safety.
Your New Go-To Protein Bar
This recipe delivers everything you want in a homemade protein bar. It is customizable, incredibly cost-effective, and most importantly, delicious. It solves the common problems of chalky texture and complicated methods with one simple, no-bake process. I really hope you make your first batch this week.
I’m so excited for you to try it. Tell me in the comments below, what variation are you most excited to make? For more easy, family-friendly snack ideas, be sure to follow me on Pinterest. Happy snacking.
Print
Homemade Protein Bar
- Total Time: 45 minutes
- Yield: 12 servings 1x
- Diet: Vegetarian
Description
Homemade no-bake protein bars made with peanut butter and chocolate.
Ingredients
- 1 1/2 cups creamy peanut butter
- 1/2 cup vanilla whey protein powder
- 1/2 cup almond flour
- 1/4 cup pure maple syrup
- 1/3 cup dark chocolate chips
- 1/4 cup chopped almonds (optional)
- 2 tablespoons coconut oil, divided
- 1/2 cup dark chocolate chips for topping
Instructions
- Mix peanut butter, protein powder, almond flour, and maple syrup in a bowl.
- Stir in 1/3 cup chocolate chips and optional almonds.
- Line an 8×8 inch dish with parchment paper.
- Press the dough into the dish evenly.
- Melt 1/2 cup chocolate chips and 1 tablespoon coconut oil.
- Pour melted chocolate over the dough layer.
- Drizzle the remaining coconut oil over the chocolate.
- Refrigerate for at least 30 minutes.
- Remove from dish and slice into bars.
Notes
- Use a double boiler for a smooth topping.
- Use room temperature peanut butter.
- Store bars in the refrigerator.
- Try different protein powders or nut butters.
- Prep Time: 15 minutes
- Cook Time: 0 minutes
- Category: Snack
- Method: No-Bake
- Cuisine: American
Nutrition
- Serving Size: 1 bar
- Calories: 280
Keywords: protein bars, peanut butter, no bake, homemade snack