Easter just isn’t complete without a batch of these cheerful Easter Chocolate Chip Cookies sitting on the kitchen counter. I still remember my grandma letting me mix the pastel dough as a kid, my fingers stained pink and purple from the food coloring.
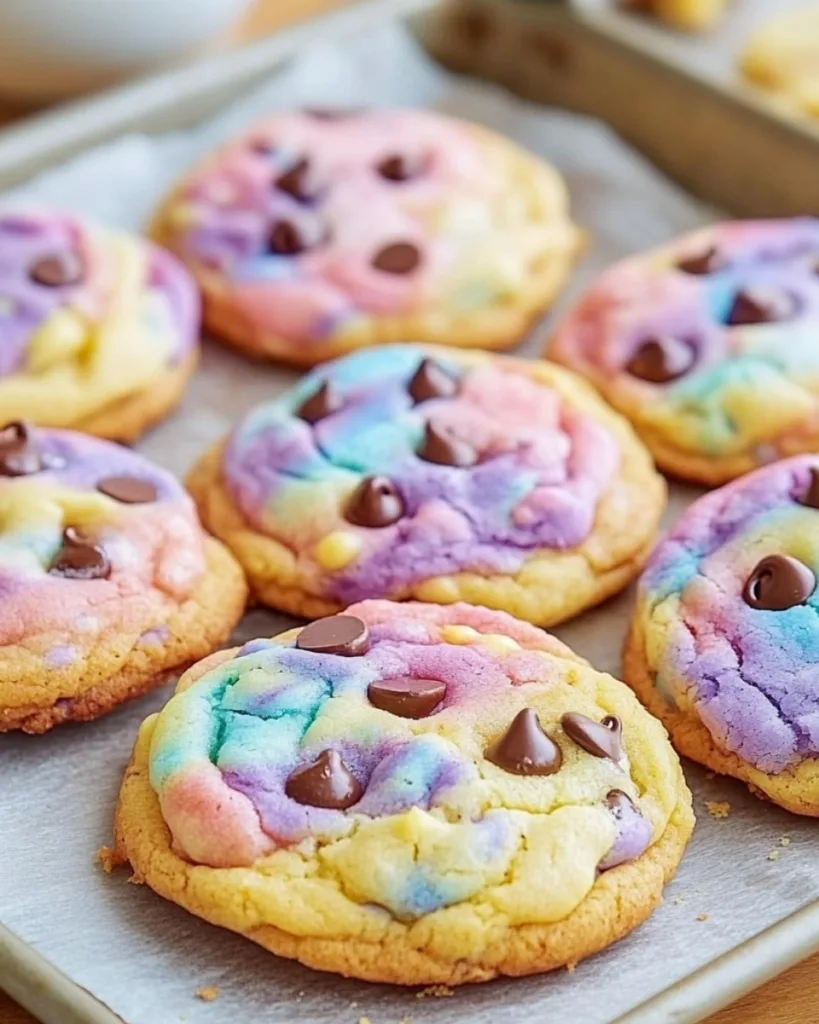
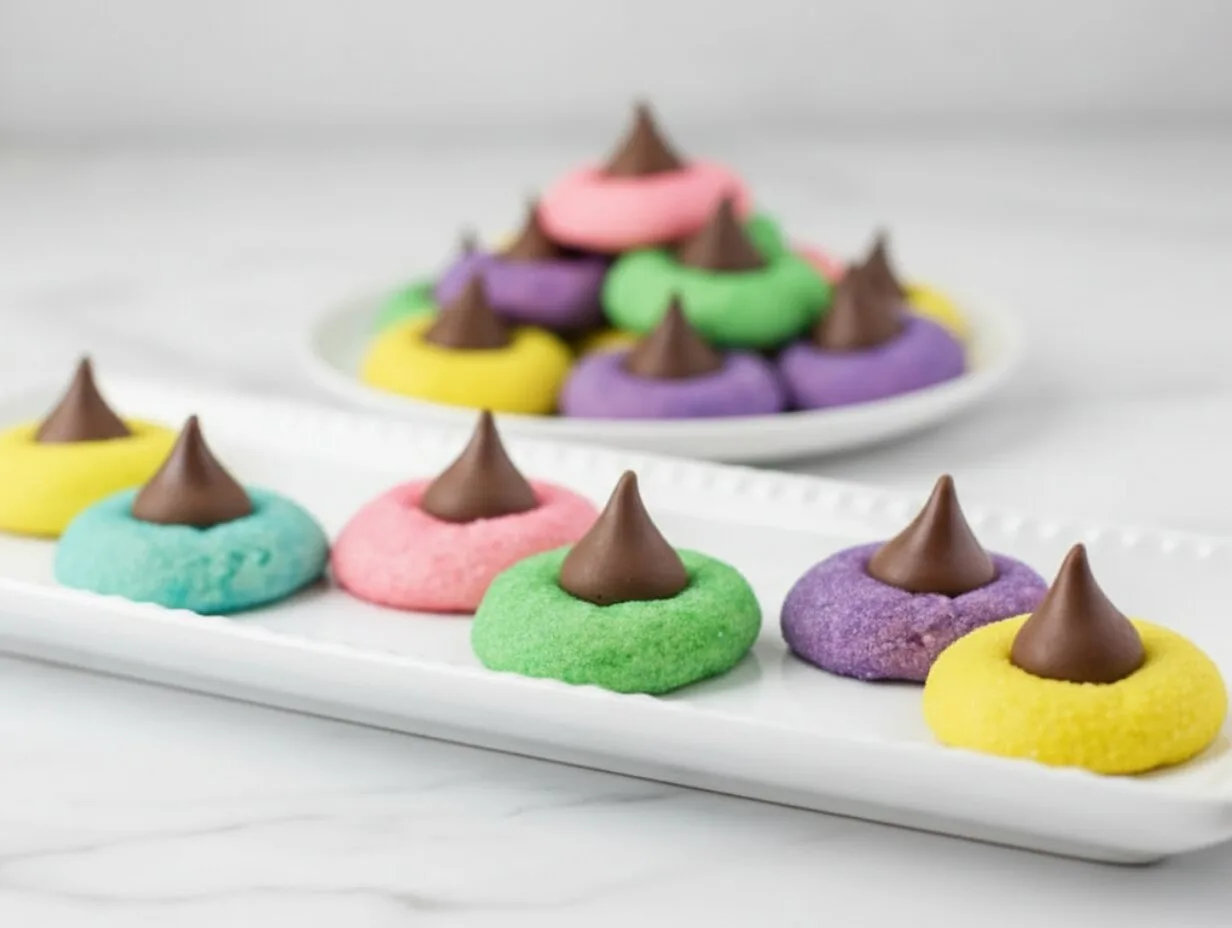
These Easter Chocolate Chip Cookies became our sweet little tradition, soft, slightly chewy, and studded with melty chocolate chips peeking through those dreamy pastel swirls. Now I make them every spring, and the moment that vanilla-sugary smell hits the oven, it instantly feels like celebration time. Trust me, these aren’t just cookies – they’re edible happiness wrapped up in Easter colors.
Table of Contents
Why You’ll Love These Easter Chocolate Chip Cookies
Oh, where do I even start? These cookies are absolute magic, and I don’t say that lightly.
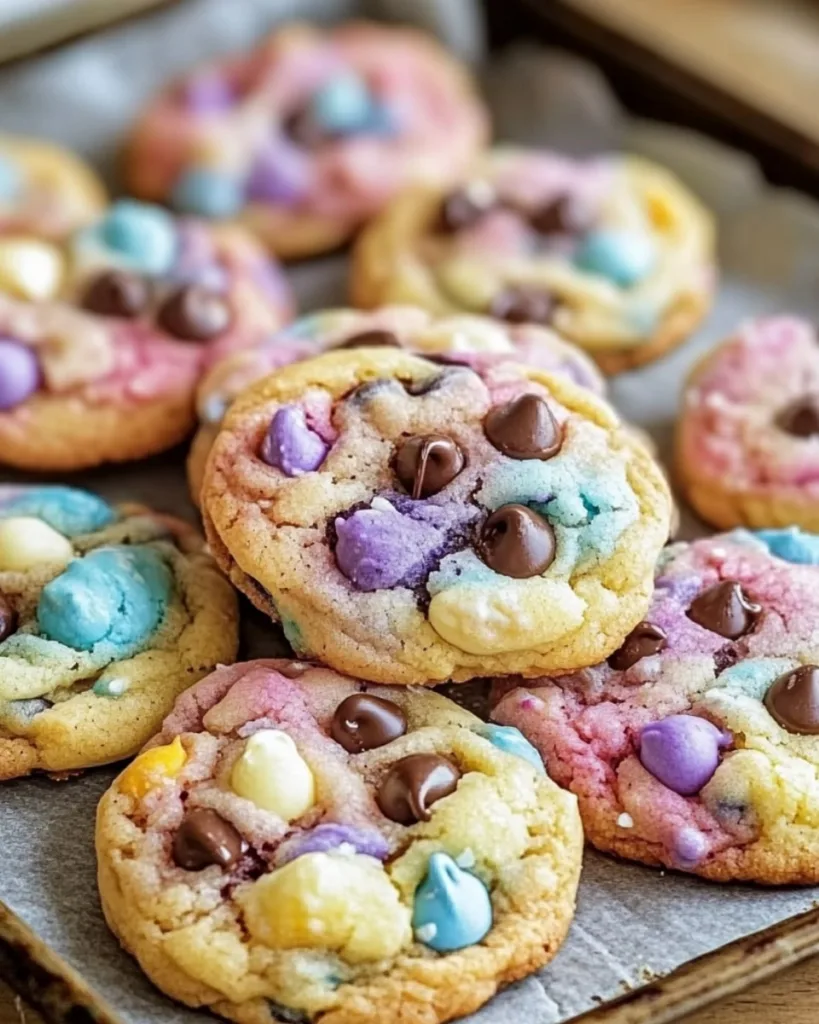
First off, that soft, chewy texture? It’s like biting into a cloud that just happens to be studded with melty chocolate chips.
Then there’s the pastel swirls, so festive, they practically scream “Spring is here!” Even better? They’re ridiculously easy to make.
No fancy skills needed, just a bowl, a spoon, and a little enthusiasm.
And let me tell you, kids (and let’s be honest, adults too) go wild for these.
One bite, and you’ll see why these disappear faster than Easter eggs at a hunt.
Ingredients for Easter Chocolate Chip Cookies
Grab your mixing bowls, here’s everything you’ll need to make these Easter Chocolate Chip Cookies!
- The secret to perfect texture starts with 2 1/2 cups all-purpose flour (spooned and leveled, please, no packing!).
- You’ll want 1 cup unsalted butter softened to that perfect “finger-dent” stage, leave it out for about 30 minutes.
- The sugar duo (3/4 cup each of granulated and packed brown sugar) creates that crave-worthy chew.
- Don’t forget 2 large eggs at room temperature and 2 teaspoons vanilla extract for that warm flavor.
- For the festive twist: gel food coloring in pastel shades (I use pink, purple, yellow, and blue) and 2 cups of chocolate chips, because more is always better with chocolate!
Ingredient Substitutions & Notes
- No unsalted butter? Use salted but skip the extra 1/2 teaspoon salt.
- Out of brown sugar? Make your own by mixing 1 tablespoon molasses into 1 cup white sugar.
- For natural coloring, try beet powder (pink), turmeric (yellow), or spirulina (blue) – just know the colors will be softer.
- Chocolate chip rebels can use white chocolate, butterscotch chips, or even chopped Easter candy.
- And if you’re feeling extra festive? Toss in some Easter sprinkles with the chocolate chips, the more the merrier!
How to Make Easter Chocolate Chip Cookies
To make these Easter Chocolate Chip Cookies, just follow these steps:
Step 1: Preheat and Prepare
Start by preheating your oven to 350°F (175°C) and lining your baking sheets with parchment paper. This simple step prevents sticking and makes cleanup a breeze.
Step 2: Mix Dry Ingredients
In a medium bowl, whisk together the all-purpose flour, baking soda, and salt to evenly combine and get ready for your wet ingredients.
Step 3: Cream Butter and Sugars
In a large bowl, beat softened butter with granulated and brown sugar until light and fluffy. This creates air pockets needed for soft, chewy cookies.
Step 4: Add Wet Ingredients
Add eggs one at a time, beating well after each addition, then stir in vanilla extract. The batter will smell wonderful at this point!
Step 5: Combine Wet and Dry
Gradually mix the dry ingredients into the wet mixture, stirring just until combined. Overmixing can result in tough cookies.
Step 6: Add Color and Create Dough Balls
Divide the dough into equal parts and tint each with pastel gel food coloring, pink, blue, yellow, and purple. Combine bits from each to create marbled dough balls.
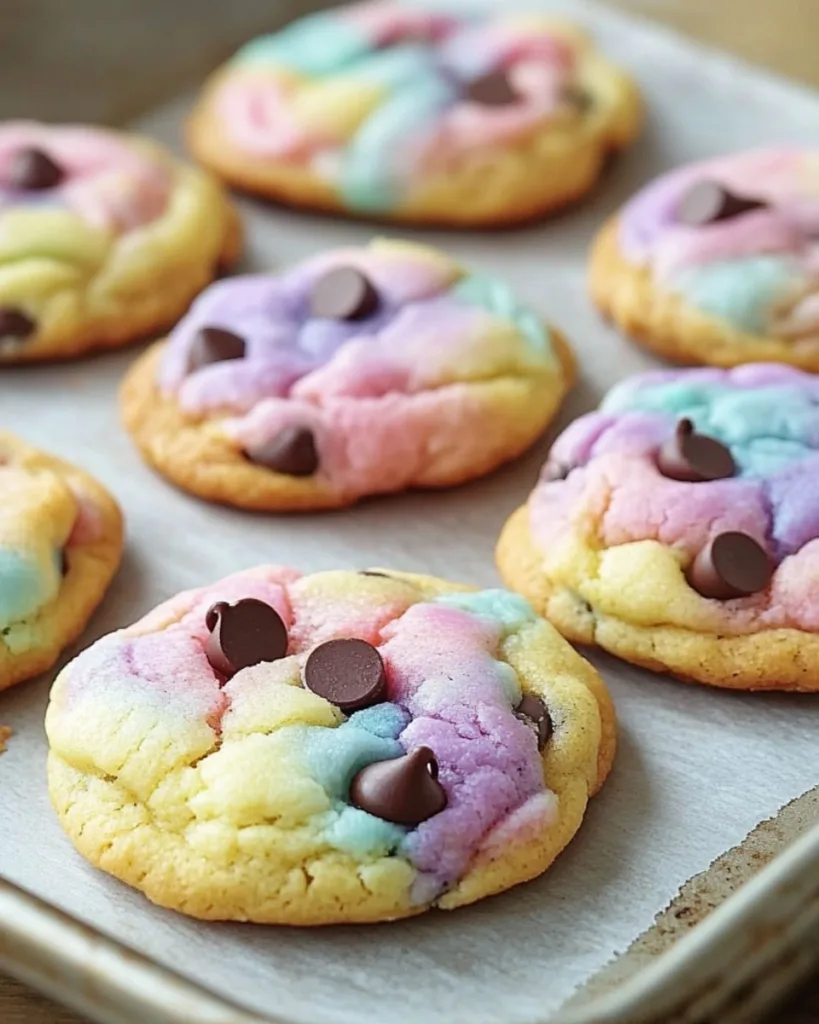
Step 7: Bake and Cool
Place dough balls on your baking sheet, flatten slightly, and top with extra chocolate chips. Bake for 10-12 minutes until edges are lightly golden. Cool for a few minutes on the sheet before transferring to a wire rack.
Enjoy your colorful Easter Chocolate Chip Cookies, perfect for spring celebrations or a fun baking day!
Tips for Perfect Easter Chocolate Chip Cookies
To get the best soft and colorful Easter Chocolate Chip Cookies, avoid overmixing your dough, this keeps them tender and chewy. Use gel food coloring so your pastel hues stay vibrant without thinning the dough. Chill the cookie dough balls for at least 30 minutes before baking; this prevents spreading and keeps colors distinct.
Bake one sheet at a time with enough space between cookies to ensure even cooking, and remove them when the edges start to turn golden while centers remain slightly soft. Let the cookies cool on the baking sheet for 5 minutes before transferring to a wire rack to finish cooling. Handling them too soon can cause breakage.
For best decoration, gently press extra chocolate chips or Easter candies on top right after baking while the cookies are still warm, so they stick perfectly. These simple tips will help you create festive, gorgeous cookies that melt in your mouth and brighten up any Easter celebration!
Variations for Easter Chocolate Chip Cookies
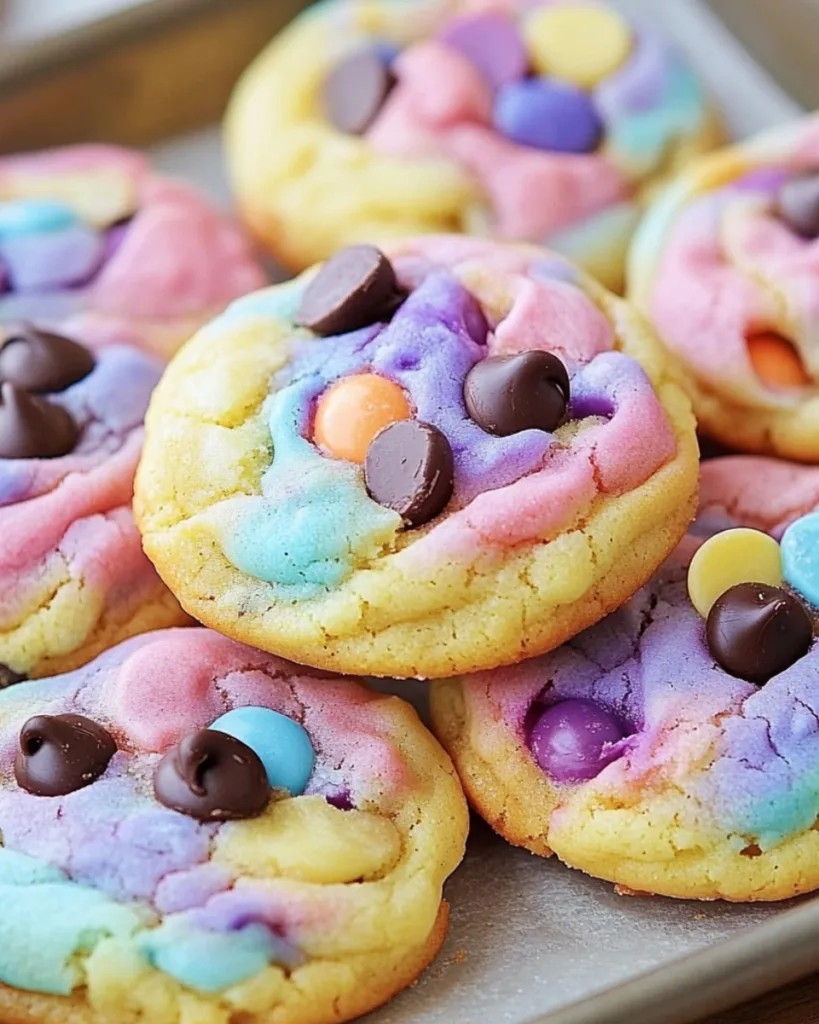
Listen, I love the classic version as much as anyone, but sometimes you just gotta play with your food! These Easter Chocolate Chip Cookies are like blank canvases waiting for your creative touch. My kids beg me to mix in Easter sprinkles, those tiny pastel dots make every bite feel like a party. And oh! Swapping half the chocolate chips for white chocolate chips? Absolute perfection against those soft pastel swirls.
Want something extra special? Try adding 1/2 teaspoon almond extract along with the vanilla – it adds this delicate floral note that somehow makes them even more “springy.” Last Easter, I got wild and folded in crushed pastel M&M’s instead of chocolate chips. Let’s just say the cookie jar didn’t stand a chance!
The best part? You can mix and match these ideas however you like. Though fair warning, once you start experimenting, you might just create a new family tradition. Just last week, my neighbor texted me photos of her version with chopped malted milk eggs mixed right into the dough. Genius!
Serving & Storing Easter Chocolate Chip Cookies
Here’s the best part:
- These cookies taste amazing warm from the oven when the chocolate is all melty, but they’re just as good at room temperature.
- Let them cool completely on a wire rack before storing (about 30 minutes), otherwise you’ll get soggy bottoms, and nobody wants that!
- Keep them in an airtight container at room temperature for up to 5 days.
- If you want that fresh-from-the-oven feeling later, just pop one in the microwave for 8-10 seconds and boom, instant happiness!
Easter Chocolate Chip Cookies Nutritional Information
Let’s be real, we’re not eating these adorable Easter Chocolate Chip Cookies for their health benefits! But just so you know what you’re enjoying, here’s the scoop:
Each cookie has about 180 calories, 12g sugar, and 8g fat.
Remember, these values are estimates, they’ll vary slightly depending on your exact ingredients and how big you make those dough balls!
FAQs About Easter Chocolate Chip Cookies
Can I use liquid food coloring?
You can, but gel food coloring works better. Liquid coloring can thin your dough, making the cookies spread more. Gel gives vibrant colors without messing with the texture.
How do I prevent the cookies from spreading too much?
Make sure your butter is softened, not melted. Also, chill the dough for 15-20 minutes before baking. This helps the cookies hold their shape beautifully in the oven.
Can I freeze the dough?
Absolutely! Form the dough balls, place them on a baking sheet, and freeze until solid. Then transfer to a freezer bag. They’ll keep for up to 3 months. Bake straight from frozen, adding an extra minute or two to the baking time.
Can I make these cookies ahead of time?
Definitely! The baked cookies stay fresh in an airtight container for up to 5 days. You can also freeze baked cookies for up to 2 months, just thaw at room temperature or warm them up in the microwave for a few seconds.
What if I don’t have gel food coloring?
No worries! Natural options like beet powder, turmeric, or spirulina can work, though the colors will be softer. Just mix them into the dough until you get the shade you’re happy with.
More Delicious Holiday and Chocolate Chip Cookie Recipes
If you love these Easter Chocolate Chip Cookies, these delightful holiday-inspired desserts will add sweetness to your celebrations.
- Try the fun and flavorful Easter Cake Mix Cookie Bars for a quick festive treat.
- Enjoy the warm spice and sweetness of Snickerdoodle Cookie Bars, a cozy classic.
- Indulge in creamy and crunchy Caramel Cheesecake Cookies for a rich cookie experience.
- Bake the Italian-inspired Cannoli Cookies for a delightful twist on traditional flavors.
Give these recipes a try to enhance your holiday baking with variety and joy!
Share Your Easter Chocolate Chip Cookies
I’d love to see your colorful creations! Snap a photo of your pastel masterpieces and tag me on Instagram, watching everyone’s cookie variations brings me so much joy. Happy baking, friends!
Print
Easter Chocolate Chip Cookies
- Total Time: 25 minutes
- Yield: 24 cookies 1x
- Diet: Vegetarian
Description
These festive Easter Chocolate Chip Cookies are soft, chewy, and beautifully marbled with pastel colors. They’re a fun and easy dessert perfect for spring celebrations, Easter parties, or simply adding some color to your cookie tray!
Ingredients
- 2 1/2 cups all-purpose flour
- 1 teaspoon baking soda
- 1/2 teaspoon salt
- 1 cup unsalted butter, softened
- 3/4 cup granulated sugar
- 3/4 cup packed brown sugar
- 2 large eggs
- 2 teaspoons vanilla extract
- Gel food coloring (pastel pink, purple, yellow, and blue)
- 2 cups chocolate chips
Instructions
- Preheat the Oven: Preheat your oven to 350°F (175°C) and line a baking sheet with parchment paper.
- Mix Dry Ingredients: In a medium bowl, whisk together the flour, baking soda, and salt. Set aside.
- Cream Butter and Sugars: In a large mixing bowl, beat the softened butter, granulated sugar, and brown sugar until light and fluffy.
- Add Wet Ingredients: Beat in the eggs, one at a time, then stir in the vanilla extract until well combined.
- Combine Dry and Wet Ingredients: Gradually mix in the dry ingredients until just combined—avoid overmixing.
- Color the Dough: Divide the dough into four portions and tint each with pastel gel food coloring (pink, purple, yellow, blue). Mix gently until color is even.
- Shape the Cookies: Take small portions from each color and press them together to form a marbled dough ball. Place on the baking sheet and gently flatten.
- Add Chocolate Chips: Sprinkle extra chocolate chips on top of each cookie before baking.
- Bake: Bake for 10-12 minutes, until edges are lightly golden. Let cool on the baking sheet for 5 minutes before transferring to a wire rack.
Notes
- For a bakery-style look, press a few extra chocolate chips onto each cookie right after baking.
- You can also use pastel M&M’s instead of chocolate chips for extra color!
- Prep Time: 15 minutes
- Cook Time: 10 minutes
- Category: Dessert
- Method: Baking
- Cuisine: American
Nutrition
- Serving Size: 1 cookie
- Calories: 180
- Sugar: 14g
- Sodium: 110mg
- Fat: 9g
- Saturated Fat: 5g
- Unsaturated Fat: 3g
- Trans Fat: 0g
- Carbohydrates: 22g
- Fiber: 0g
- Protein: 2g
- Cholesterol: 25mg
Keywords: Easter cookies, pastel cookies, marbled cookies, holiday baking, colorful chocolate chip cookies